lundi 30 avril 2012

Blog.SpoonGraphics | Latest Blog Entry

Blog.SpoonGraphics | Latest Blog Entry


Blog.SpoonGraphics Turns 5 Years Old – Thank You!

Posted: 29 Apr 2012 11:00 PM PDT

Every year since the start of Blog.SpoonGraphics in April 2007 I have created a special anniversary post celebrating the growth and success of my little blog. Despite being a pretty big milestone this year I had forgotten all about my little tradition. Thankfully I remembered just in time to bring you my 5 years of Blog.SpoonGraphics overview on the last day of April. Let’s take a look at changes in stats and figures over the past year.

To see how things have changed over the years head back and check out 2011′s 4 year post, 2010′s 3 year post, 2009′s 2 year post, 2008′s 1 year post or 2007′s six months post.

Design wise as you can see I’m still rocking the same old theme design from 2007. As documented in previous anniversary post there’s been little changes here and there with just the header being the only section of the design that has remained pretty much the same. 2009 saw the last major overhaul of the design, since then the site has remained unchanged. Maybe it’s time for another refresh?

Average stats of late

Average visits per day: 21000 (up 3.5k from 2011)
Average pageviews per day: 40,000 (up 6k from 2011)
Top Content: 50 Illustrator Tutorials Every Designer Should See & Huge Collection of T-Shirt Design Mockup Templates
RSS Subscribers: 57,000 (down 1k from 2011)
Highest Traffic Peak: Thursday November 4th 2010 – 32,658 visitors (How To Give Your Photos a Dark Processed Lomo Effect)

It’s great to see the number of daily visitors and pageviews steadily increasing as more and more content is archived into the search engines. My top content is still two roundups of resources. These two posts in particular have 1st place Google positions for their relative topics so I don’t expect to knock them off the top spot anytime soon.

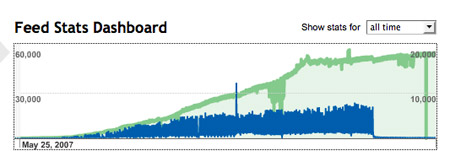
RSS subscriber count has actually dropped since last year. I noted in past overview posts that Feedburner stats on both my blogs suddenly plateaued from October 2010, so whether this is a Feedburner issue or whether people just don’t use RSS anymore I don’t know! Another strange Feedburner stat is that my ‘Reach’ suddenly dropped from over 7000 to less than 150 in the space of one day back in July 2011, and has remained this low ever since (blue line in the above graph).

Technical stats

Powered by: WordPress
Hosted on: 4GB VPS (Frontend) + 1GB VPS (Databases)
Server location: Chicago
Thanks to the W3 Total Cache plugin and some server tweaking from @crouchy, @cleatsandcode and @davidsilburn the average load is around 0.3 and memory usage is around 20%. I could afford to downsize my servers but the extra resources are handy to have should my site experience a large traffic influx.
A recent update to the W3 Total Cache plugin greatly improved my site’s response time too, from around 3000ms down to a snappy 400ms.

Blogging related achievements

In previous anniversary posts I’ve shown how the increased exposure I received from my blog has led to features on design websites and magazines, but I never really talked about how my blog has helped with my overall career.
The first big milestone was back in 2009 when my blog initially reached a stage where it was bringing in freelance projects that allowed me to go self employed. In 2010 I mentioned how my blog had grown enough to allow me to cut down on freelance work, and now, as of mid 2011 I’m running my blogs as my full time job alongside my YouTube gaming channel, which as of late 2011 became partnered with IGN Entertainment.

Creating fun designs tutorials to help people learn new techniques and sharing tips from my favourite video games is by far the best job I could have ever imagined, so thank you to everyone who has taken the time to read my content over the years.

vendredi 27 avril 2012

Blog.SpoonGraphics | Latest Blog Entry

Blog.SpoonGraphics | Latest Blog Entry


Awwwards Web Design Book Giveaway for Members

Posted: 26 Apr 2012 11:00 PM PDT

Awwwards, the online showcase of the world's best website designs, recently released an awesome book full of design inspiration, titled The Best 365 Websites Around the World 2011. As the title suggests, it's filled with the best CSS website designs from last year and includes 365 designs from various designers ...

Log in to your Access All Areas account to read the rest of this post.

Not a member? Becoming an Access All Areas member gives you the ability to view exclusive members-only content just like this. The premium category is already packed full of discount codes and useful design resources, and there's plenty more to come! Find out more about becoming a member, or take a peek at what's available to premium members so far.

lundi 23 avril 2012

Blog.SpoonGraphics | Latest Blog Entry

Blog.SpoonGraphics | Latest Blog Entry


How To Create a Grainy Abstract Lines Poster Design

Posted: 22 Apr 2012 11:00 PM PDT

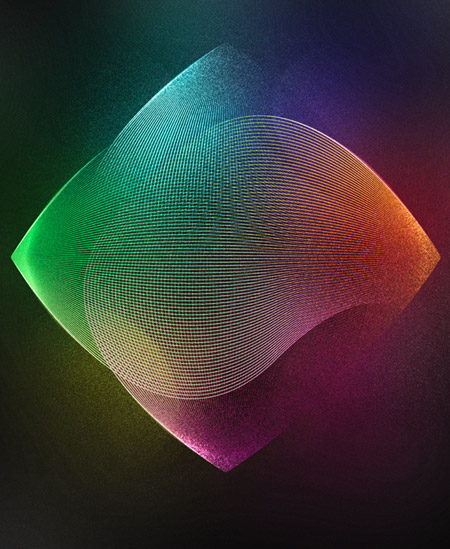
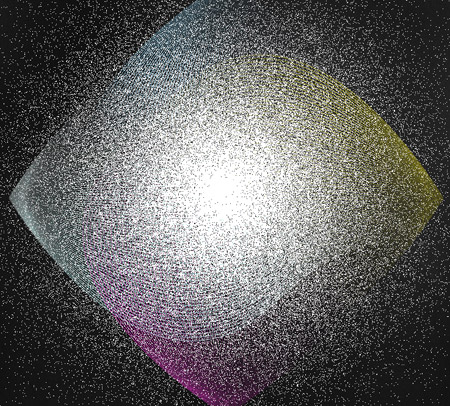
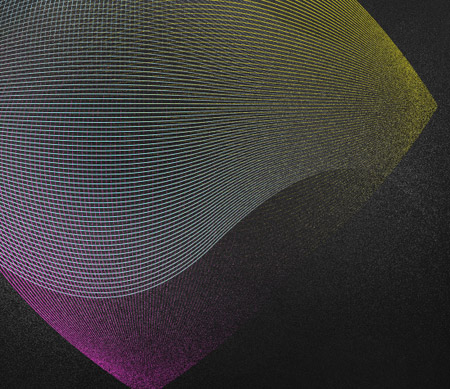
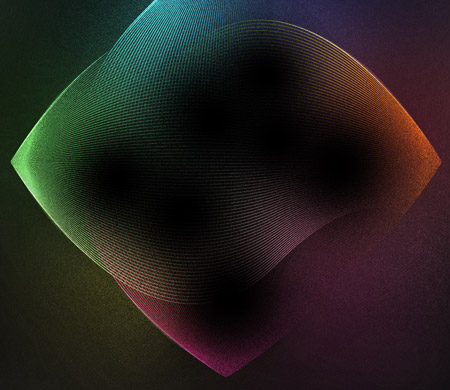
Follow this step by step tutorial to create a cool abstract lines design with awesome vibrant lighting effects. We’ll use Illustrator’s easy tools to create the vector linework then add a range of glows, colours and effects in Photoshop to finish the design with a cool grainy but luminous style.

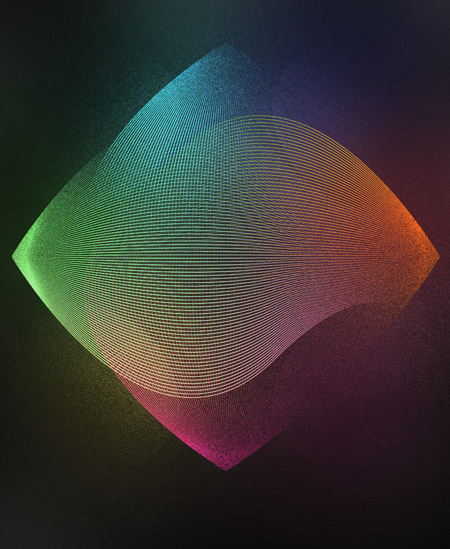
Vibrant grainy abstract lines artwork

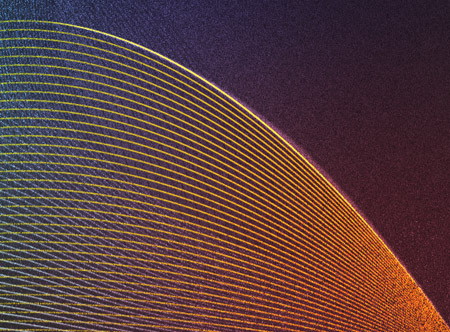
It’s difficult to describe this style of artwork without referencing Andy Gilmore’s awesome work. The overall design mixes geometric shapes from the vector linework with vibrant colours and grainy textures to create an intricate design perfect for use as a printed poster or maybe even a band’s album art.

View the final grainy abstract lines design

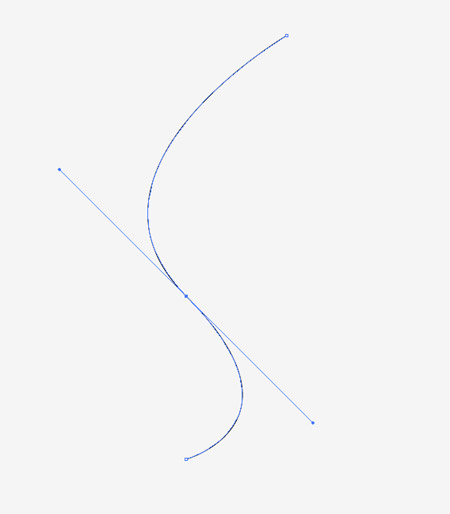
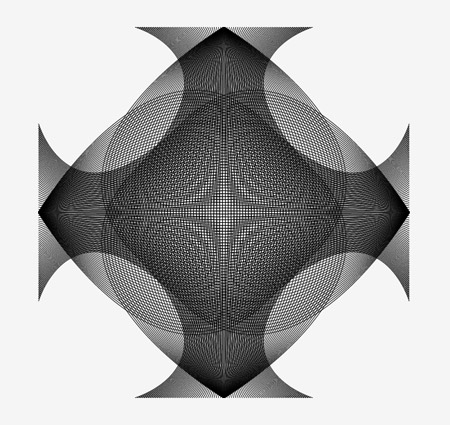
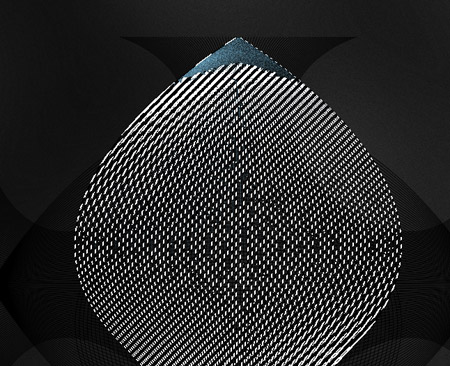
Open up Adobe Illustrator and use the Pen tool to draw a wavy line on the artboard. Keep the bezier handles long to allow for a smooth curve.

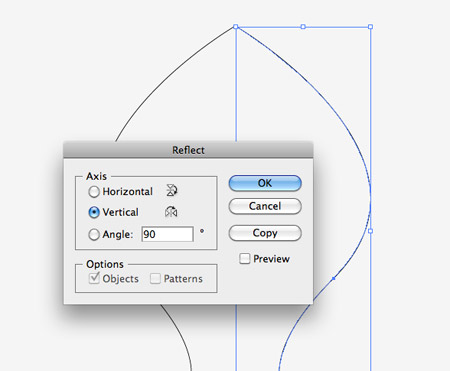
Copy (CMD+C) and Paste in Front (CMD+F) a duplicate of the line, then go to Object > Transform > Reflect. Choose the Vertical option then position the copy next to the original.

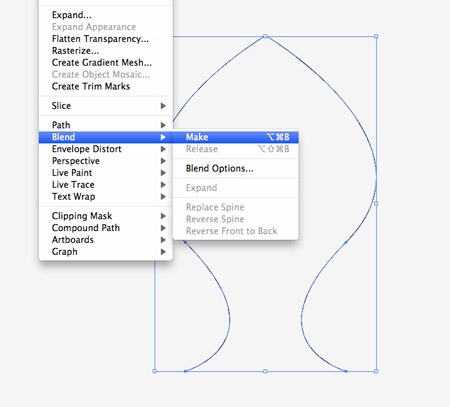
Select both items and go to Object > Blend > Make.

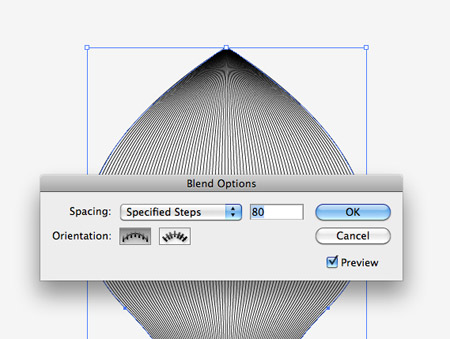
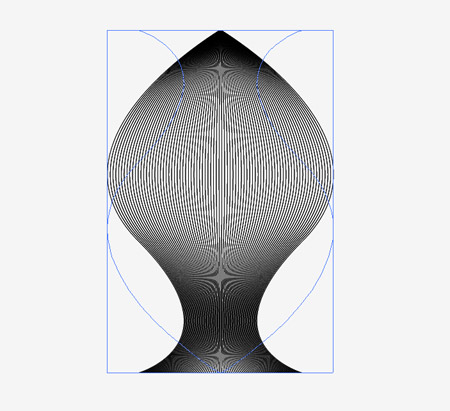
Head back to Object > Blend then select the Blend Options menu item. Change the Spacing to Specified Steps and enter a figure of around 80.

Copy and Paste in Front a duplicate of the blend, then hold the Shift key and rotate the copy by 180°.

Paste in two more duplicates of the shape and rotate them so that they overlap equally to form an intricate pattern.

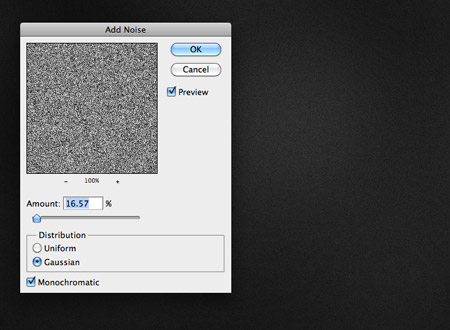
Switch over to Adobe Photoshop and create a new document. Fill the background with black but add a few subtle spots of grey with a large soft brush. Add a Noise filter to produce a grainy effect.

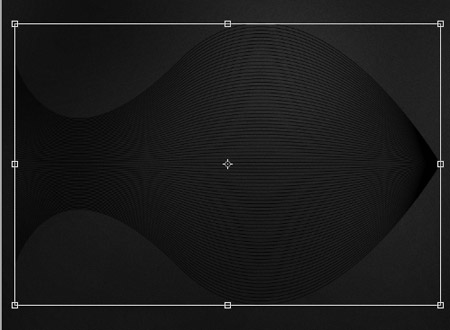
Copy one of the blend shapes from Illustrator and paste it into the Photoshop document. Scale the shape to size before rasterizing it by hitting Enter.

Drag the blend shape layer into the New icon in the layers palette to duplicate the layer, then press CMD+T and rotate each layer to match the pattern originally created in Illustrator.

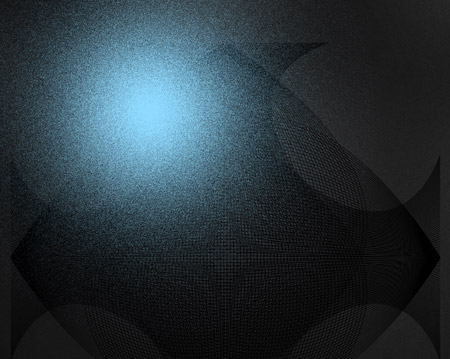
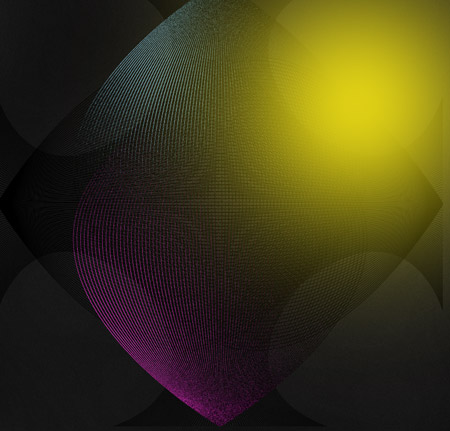
Select a nice bright blue colour and dab a large soft spot on a new layer. Change the blending mode to Dissolve, then blend this layer with a blank layer to render a cool grainy light spot.

Hold the CMD key and click the thumbnail of the top blend lines shape to load its selection. Press CMD+Shift+I to inverse the selection then delete the excess from the blue spot layer.

Repeat this process with a pink, yellow and a green spot on each quarter of the design.

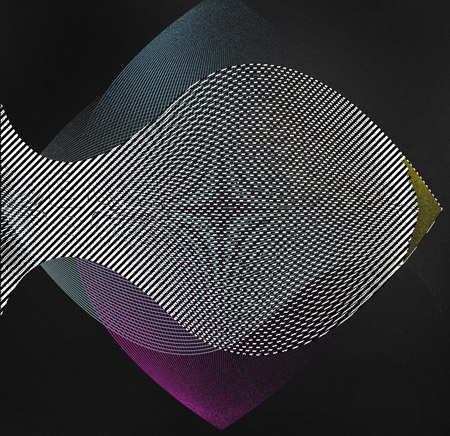
Load the selection of the nearest blend lines shape and delete out the excess to leave a vibrant copy of the lines that gradually fades out.

Dab a large spot of white on a new layer in the centre of the design then change the blending mode to Dissolve. Merge this layer with another blank layer to render out the dissolve effect.

Add a Layer Mask and use soft brushes to erase away the white grain leaving subtle scatterings around the edge of the main geometric shapes.

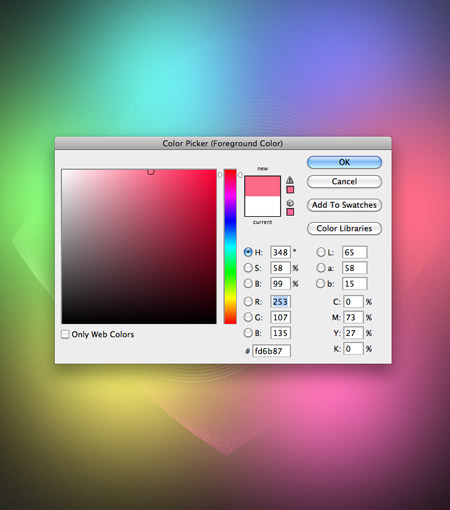
Create a new layer and use a large soft brush to add various colours around the design, blending in order of the spectrum.

Change the blending mode of this layer to Overlay to allow the colours to interact with the rest of the design.

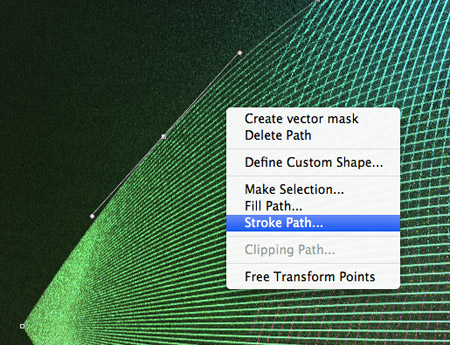
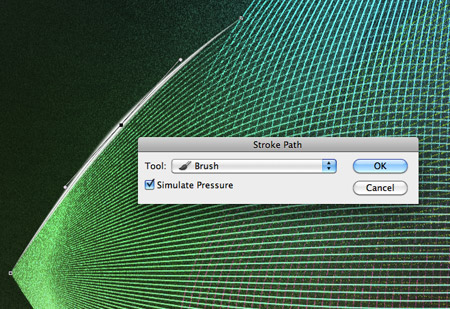
Set up your brush with a small soft tip, then use the Pen tool to carefully trace the curvature of one edge of the the geometric shape. Right click and select Stroke Path.

Change this Stroke Path option to Brush and select the Simulate Pressure option. Delete the path then change this layer to Overlay.

Repeat this process of stroking paths to add highlights to the other edges of the design. The Overlay mode does a great job of intensifying the colours.

Use a soft brush to fill in areas of black around the inner portions of the design, then change this layer mode to Soft Light to add more variety in tone.

Vibrant grainy abstract lines artwork

Press CMD+A to select all and CMD+Shift=C to Copy Merged, then paste the copy at the top of the layer stack. Change the blending mode to Color Dodge and reduce the opacity to tweak the overall vibrancy of the final design.

Download the source file

vendredi 20 avril 2012

Blog.SpoonGraphics | Latest Blog Entry

Blog.SpoonGraphics | Latest Blog Entry


Art & Design Inspiration Fix for April 20th 2012

Posted: 19 Apr 2012 11:00 PM PDT

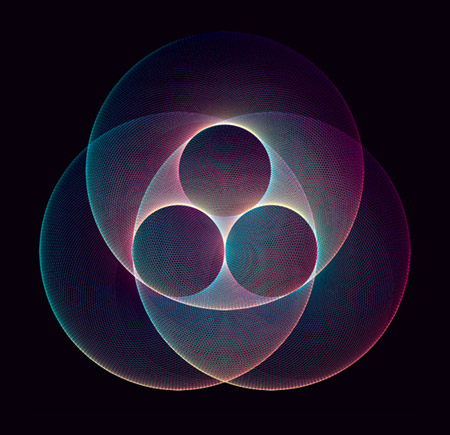
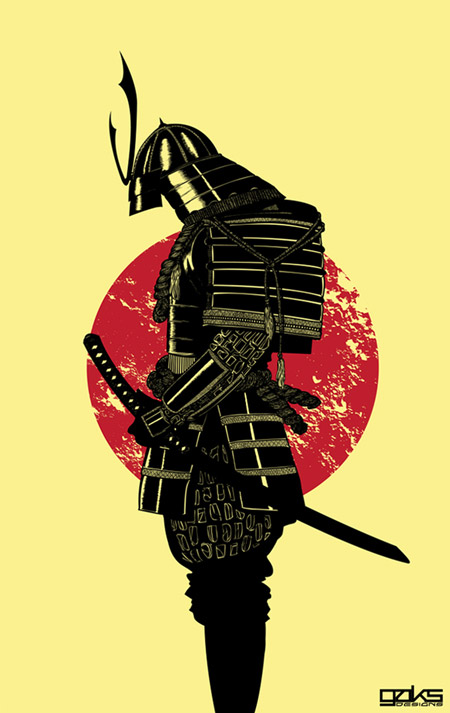
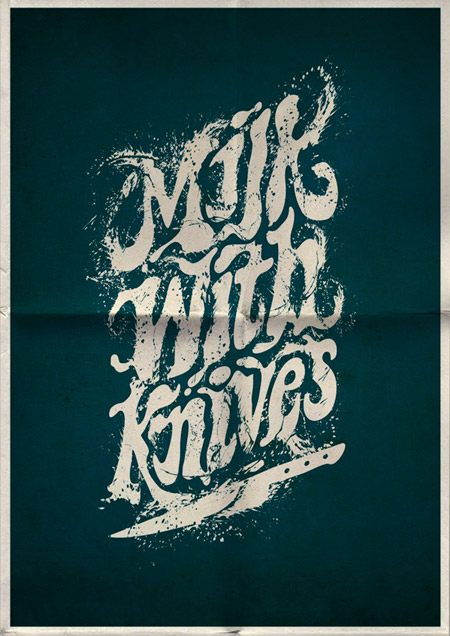
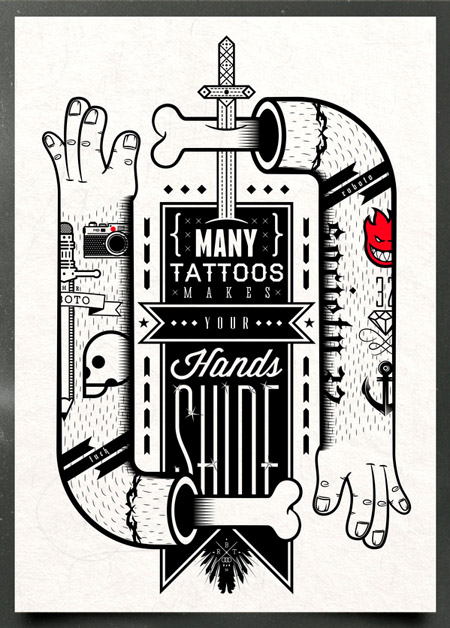
The Art & Design Inspiration Fix pulls together a collection of my favourite graphical images that I've come across over the past week to give you a fix of creative inspiration. This week we have designs from Andy Gilmore, Mads Berg, Gerrel Saunders, Mats Ottdal and Roberto Ortiz.

08-20-2009 by Andy Gilmore

Franks Originale by Mads Berg

The Headless Samurai by Gerrel Saunders

Milk with Knives by Mats Ottdal

Remind Origins by Roberto Ortiz