In the past I always saved any texturing work for Photoshop, but recently I’ve been enjoying using vector textures to create cool distressed illustrations directly in Adobe Illustrator. Follow this step by step tutorial to build a textured vector revolver illustration. We’ll use some handy Pen curves to create the linework, fill in the shapes with LivePaint then use some vector textures to create a stylized final appearance.
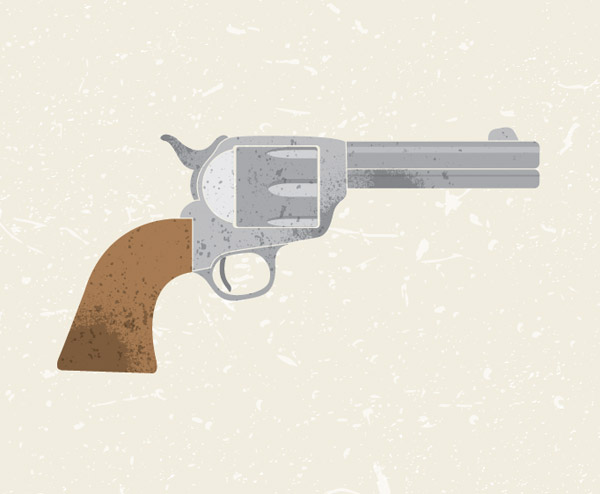
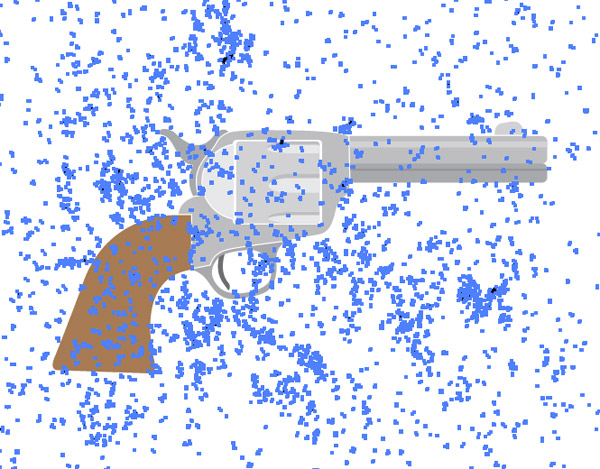
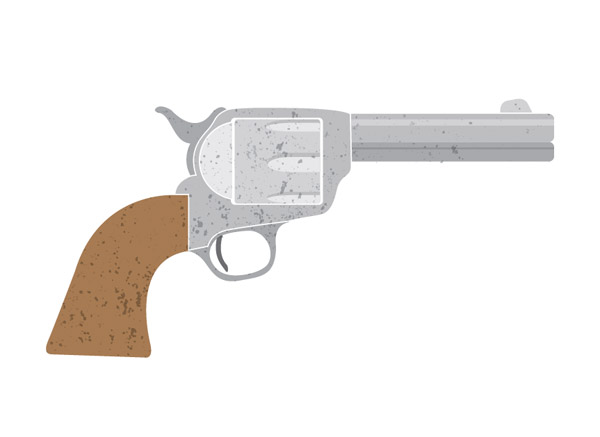
The vector revolver we’ll be creating is made up of crisp vector shapes and solid colours, but the vector textures help eliminate some of that flat digital appearance to produce a cool stylized effect.
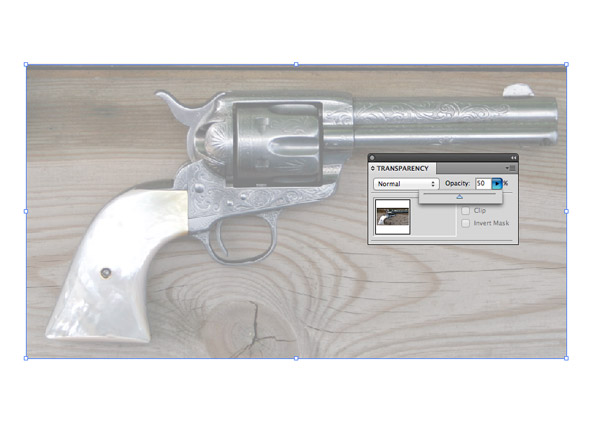
We’ll base the revolver illustration on the classic Single Action Army from the old West. Download a Wikimedia Commons image and place it into Illustrator. Reduce the opacity to 50% then press CMD+2 to lock it into place.
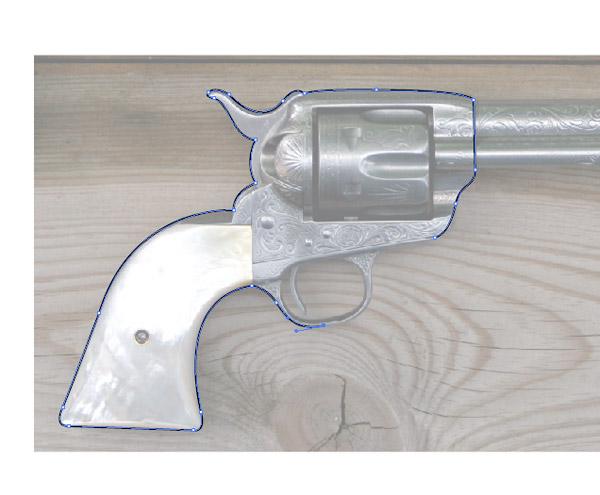
Use the Pen tool to begin tracing the outline of the frame and grip, leaving out the barrel for now. Click and drag each point, then click the open end to reset the bezier curve before setting the next point.
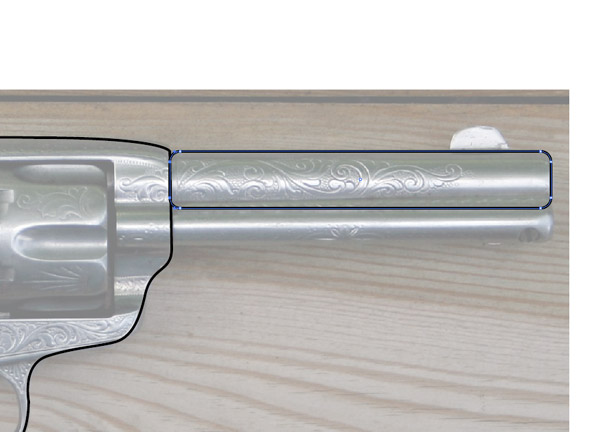
Use a rounded rectangle to trace the barrel. Adjust the corner radius with the cursor keys before releasing the mouse when clicking and dragging. Use the Direct Selection tool to select and delete the two end points.
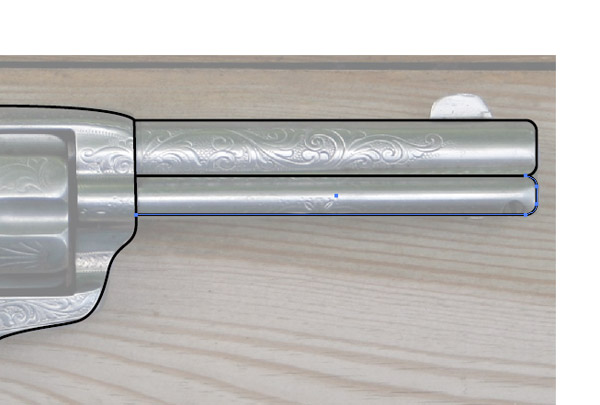
Click and drag each of these end points to overlap the outline of the main pistol body. Drag a second rounded rectangle, but this time delete the upper edge as well as the two end points.
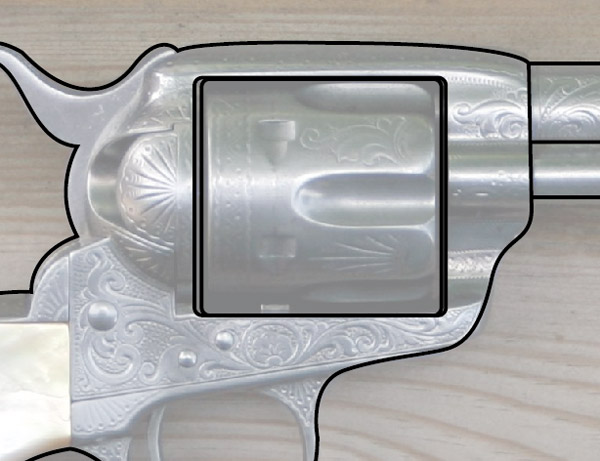
Use two carefully aligned rounded rectangles to outline the cylinder. Turning on Smart Guides (CMD+U) can be a real help to accurately line things up.

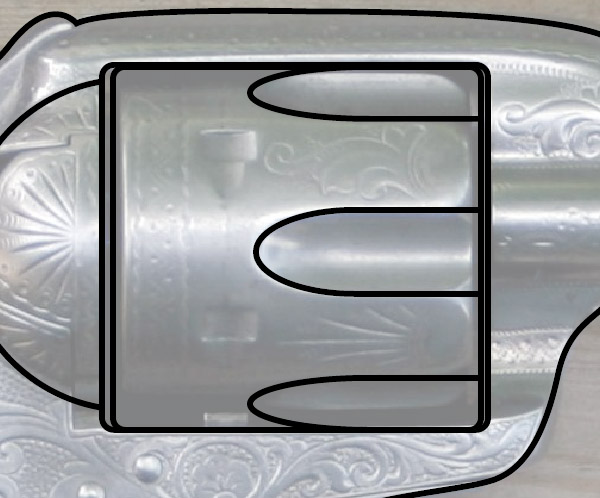
Draw an ellipse to roughly outline the dome at the rear of the revolver. Clip the path where it intersects the cylinder shapes with the Scissors tool and delete the unwanted half.
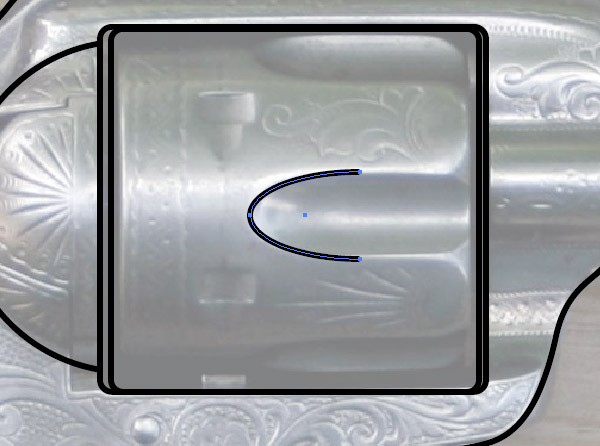
Draw another ellipse to outline the recessed areas of the cylinder, then select and delete the right most point with the Direct Selection tool.
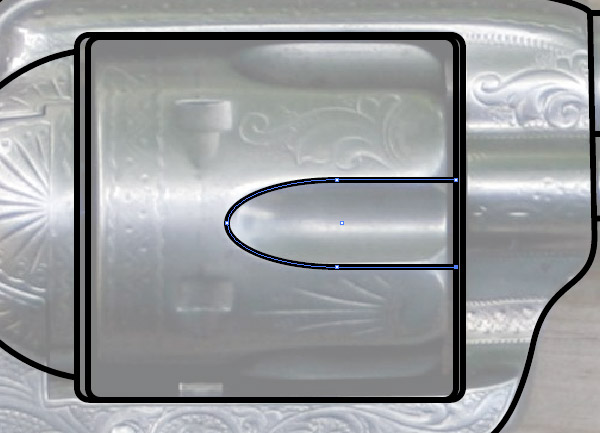
Use the Pen tool to select and open ends of the path and continue the lines to the edge of the cylinder shape.
Repeat the process for the other two recessed areas to finish the cylinder area.
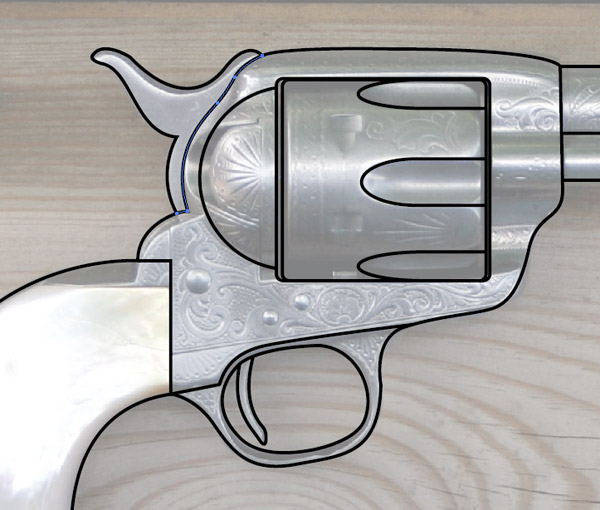
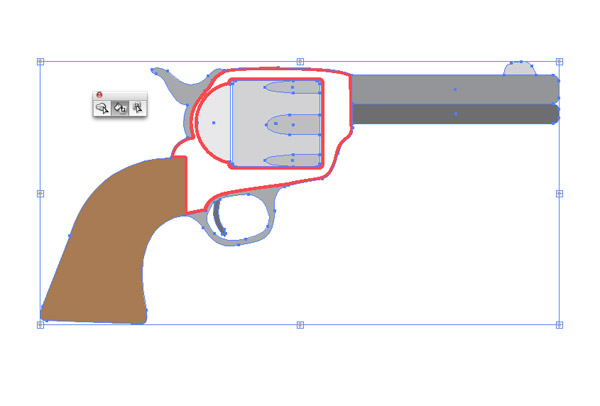
Add details to the other areas of the illustration with the Pen tool by lining up the start and end points with the main pistol outline.
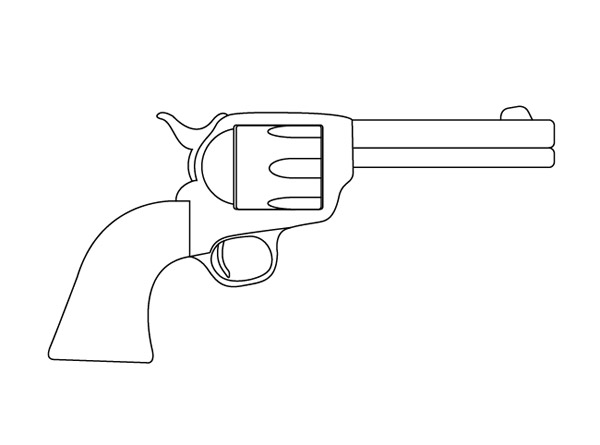
Press CMD+Shift+2 to Unlock the background photo. Hit delete to remove it from the artboard to see the basic vector linework.
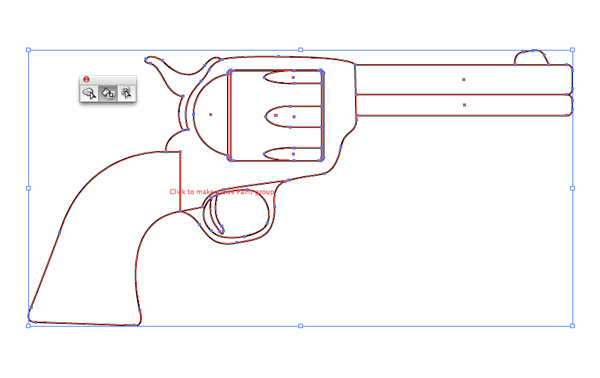
Draw a selection around all the objects, then select the LivePaint tool. Click anywhere on the selection of objects to activate the tool.
Pick colours from the Swatches palette then click the shapes in the illustration with the LivePaint tool to fill each area.
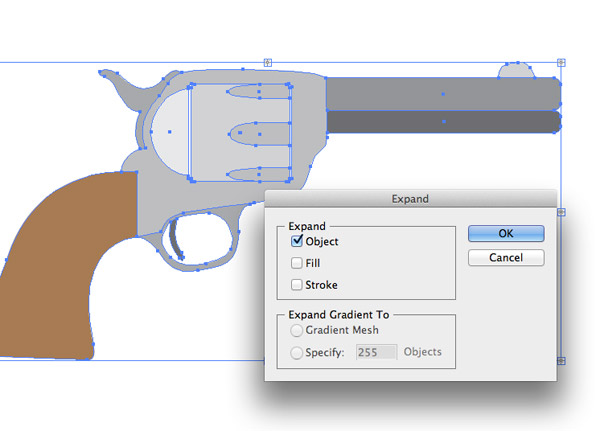
Once all sections are filled, go to Object > Expand. Select just the Object option to convert the objects back to solid shapes.
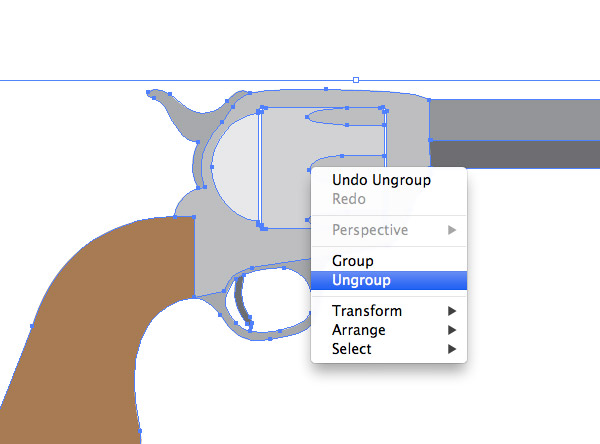
Right click and select Ungroup multiple times until each shape can be selected individually.
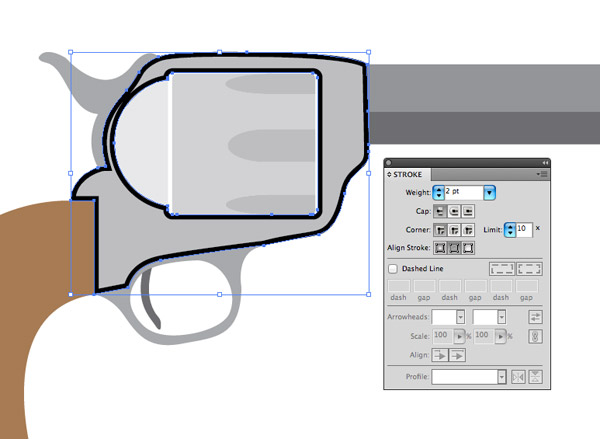
Add a 2pt stroke to the main frame area and select the Align to Inside option from the Stroke palette.
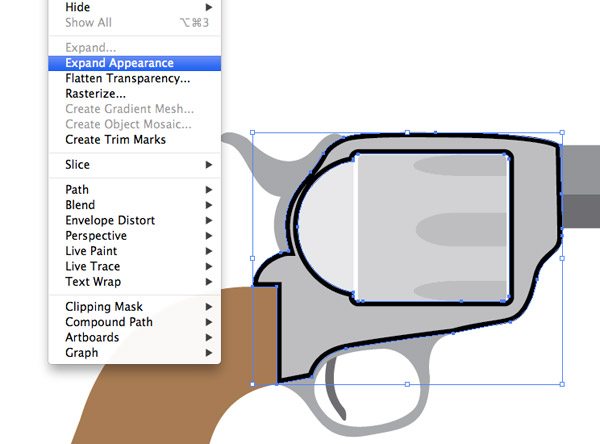
Go to Object > Expand Appearance to convert the stroke into a solid object. Right click and Ungroup the elements then delete the stroke shape.
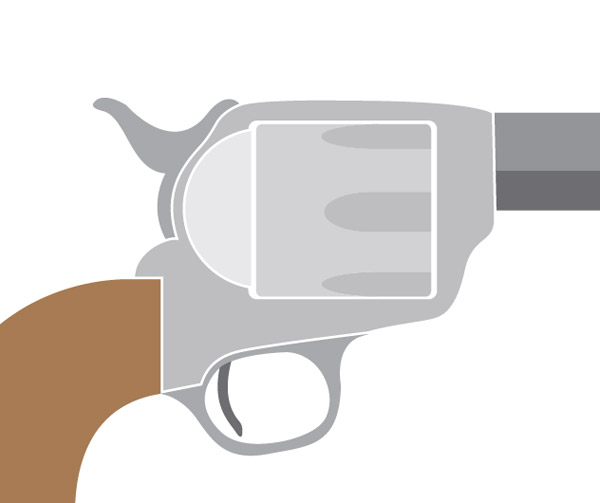
Removing this stroke leaves a cool outline around the shapes that helps separate each element and add to the stylized effect.
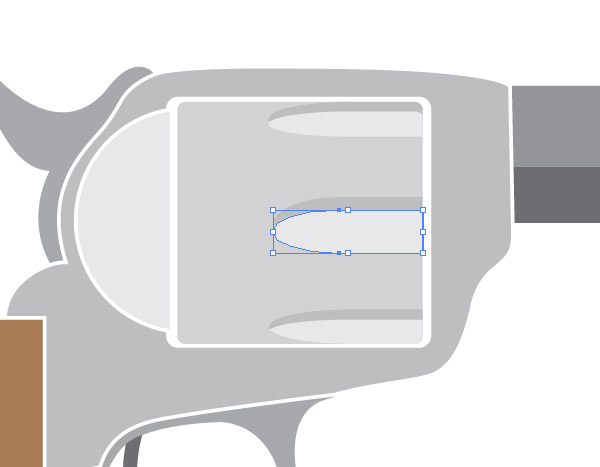
Copy (CMD+C) and Paste in Front (CMD+F) a duplicate of the cylinder recess shapes. Change the colour to the lighter shade of grey then squash the shape to create a highlight/shadow effect.
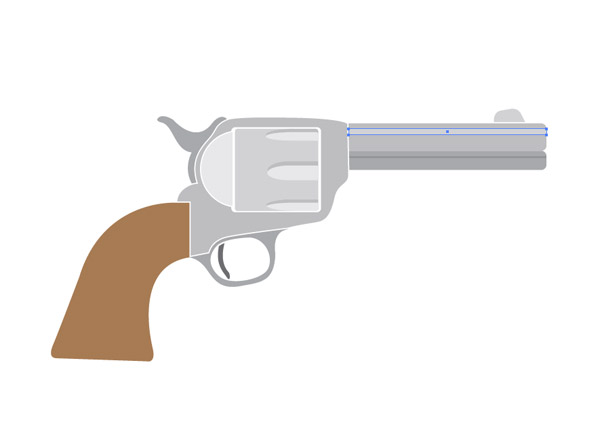
Finish off the colour fills with some simple rectangles to act as highlights on the barrel. Using those Smart Guides here will make lining up the edges a breeze.
Download and open up my Vector Bumper Pack and paste a texture onto the artboard.
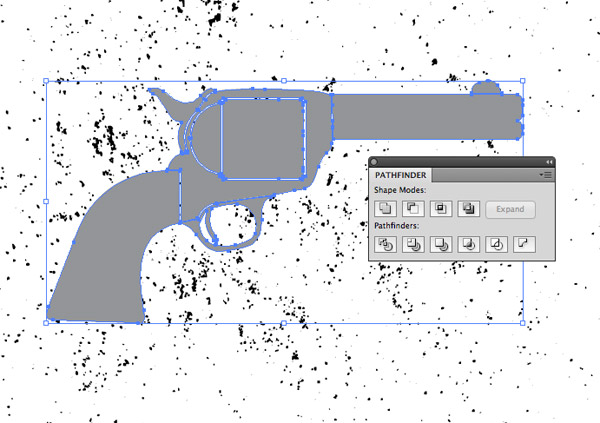
Draw a selection around all objects, then Shift-click the texture to minus it from the selection. Copy and Paste in Front a duplicate of the revolver and hit the Merge option from the Pathfinder palette to blend all the duplicated shapes together.
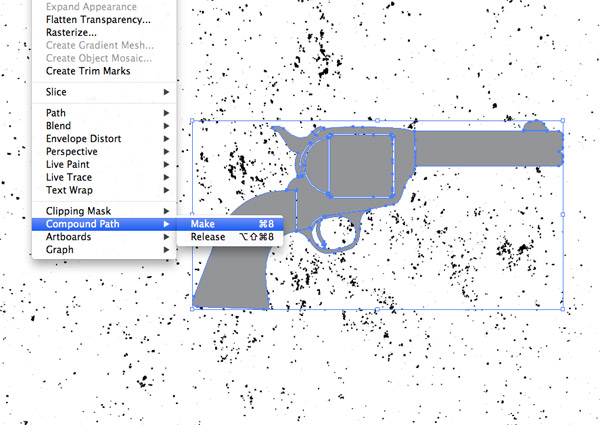
Right click and Ungroup the elements, then create a Compound Path by selecting the menu option or hitting the shortcut CMD+8.

Select both the pistol compound path and the vector texture and hit the Intersect option from the Pathfinder palette to trim the texture down to size.
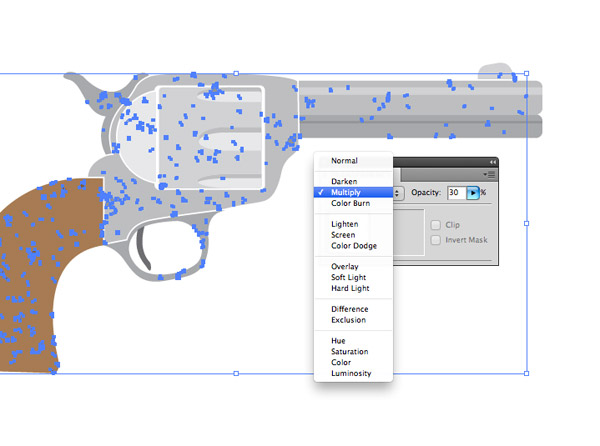
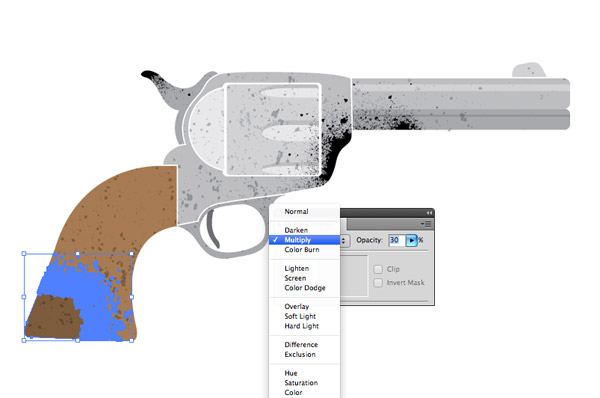
Change the texture fill to black, then alter the blending mode to Multiply and set the opacity to 30%.
Repeat this process with a second texture overlay to add more grain and distressed marks to the illustration.
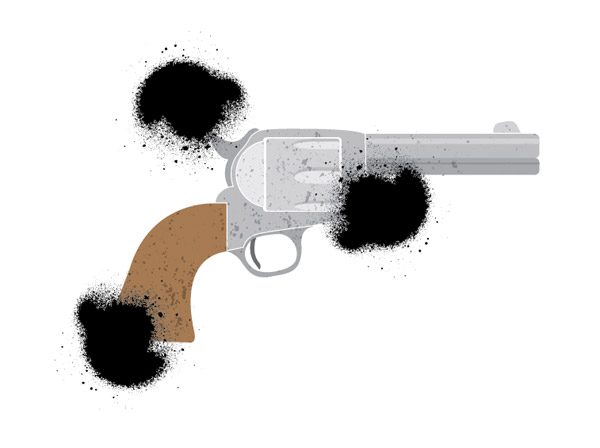
Paste in one of the vector spraypaint elements and position them in various places around the illustration so the main spray drips scatter across the pistol.
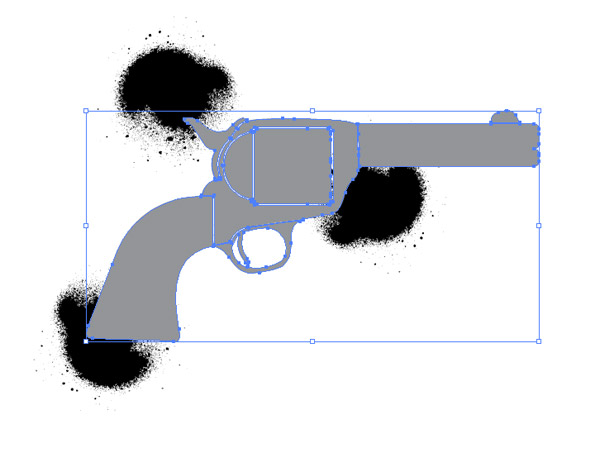
Draw a selection around the objects, removing any textures from the selection and create another compound path (Merge, Ungroup, CMD+8).
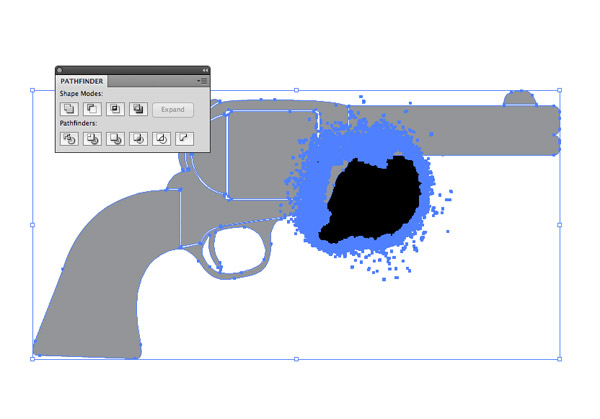
Make a copy of the compound path so it can be pasted back in and used with the next spraypaint texture, then use the Intersect tool to trim each texture to size.
Change the fill of these elements to black and give them the same Multiply blending mode at 30% to finish off the revolver illustration.
The simple shapes help create a cool stylized vector illustration while the texture overlays add a distressed effect and provide a touch of shading where the darker grain speckles eliminate the flat vector appearance.
Download the source file


