vendredi 30 juillet 2010

Spoon Graphics | Latest Blog Entry

Spoon Graphics | Latest Blog Entry


Illustrated Vector Wings Pack for Premium Members

Posted: 29 Jul 2010 10:00 PM PDT

Designious have over 5000 stock graphics in their huge library of vector packs, brushes and fonts. This particular pack from their Wings collection features 10 highly detailed illustrated vectors for use in your designs. Retailing at $10, premium members can download the pack for free as part of their Access ...

Log in to your Access All Areas account to read the rest of this post.

Not a member? Becoming an Access All Areas member gives you the ability to view exclusive members-only content just like this. The premium category is already packed full of discount codes and useful design resources, and there's plenty more to come! Find out more about becoming a member, or take a peek at what's available to premium members so far.

lundi 26 juillet 2010

Spoon Graphics | Latest Blog Entry

Spoon Graphics | Latest Blog Entry


Create a Detailed Vector Emblem Badge in Illustrator

Posted: 25 Jul 2010 11:00 PM PDT

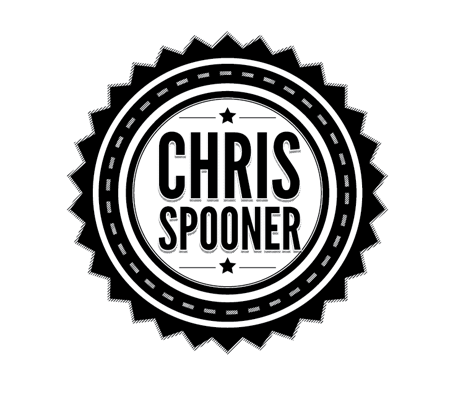
Use a range of vector shapes in Adobe Illustrator to create a detailed black and white emblem badge. We’ll use a mix of basic tools to align the various shapes together, then add some cool detail using the more advanced Pathfinder and Blend tools.
View full size design
View full size design

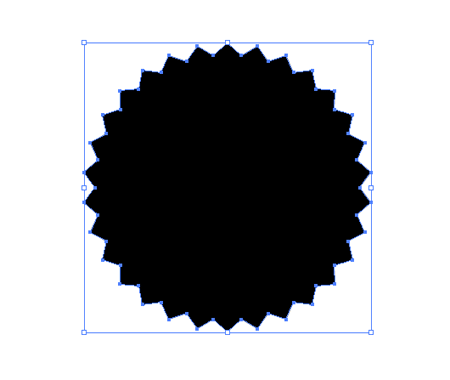
Open up Adobe Illustrator and create a new document. Grab the Star Tool and click and drag the shape onto the artboard. Before releasing the mouse, use the keyboard cursor keys to increase the number of points, and the CMD key to adjust the size of the spikes.
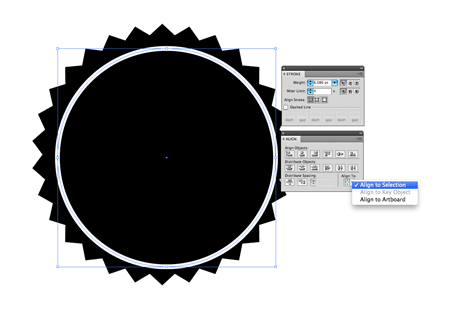
Use the Ellipse tool while holding Shift to produce a perfect circle. Give this shape a thick white stroke and no fill. Adjust the ‘Align to‘ option to Align to Selection from the Align palette, then select both objects and align on both the horizontal and vertical axes.
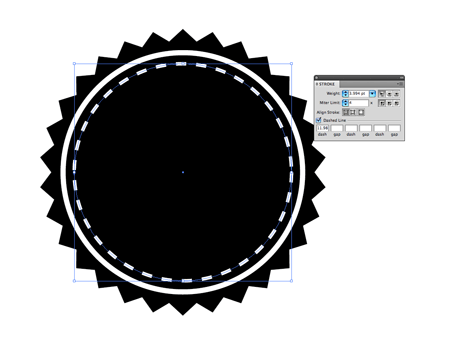
Copy the circle (CMD+C), then paste in front (CMD+F) a duplicate. Grab the corner handle and scale down the shape while holding the Alt key. In the stroke palette, reduce the weight slightly, then check the ‘dashed‘ option.
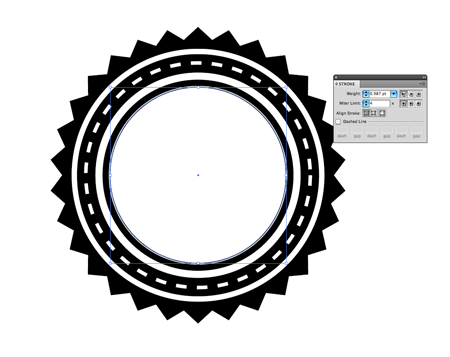
Paste in another duplicate and scale it down even smaller then give it a thicker stroke weight. Scale another duplicate a little smaller and change the stroke to a white fill. Finally give a third duplicate a thin black stroke and scale it very slightly smaller than the solid white circle.
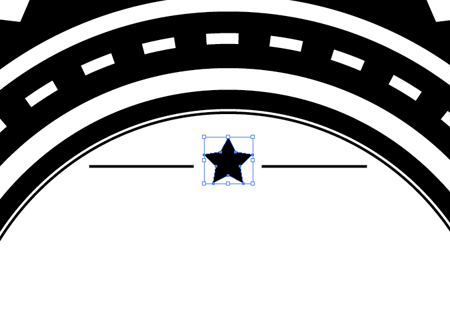
Draw a star with the Star tool, along with a couple of lines using the, err… Line tool. Group these three objects together then align them with the main badge shape. Hold Shift to add the outer badge shape to the selection, then give it an extra click to make this the key object. This will ensure that the small items move into place, rather than the outer badge which is already lined up.
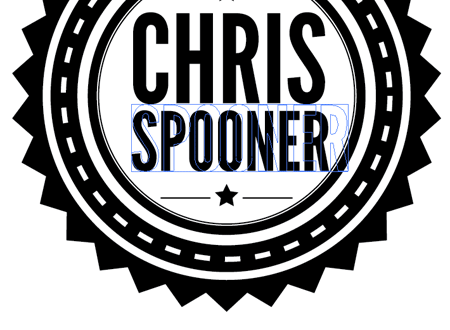
Add some text to the design. Here I’m using the cool League Gothic font. Convert the text to outlines (CMD+Shift+O), right click to Ungroup, then re-group the letters of each individual word. Move, scale and align the text to fit inside the centre circle.
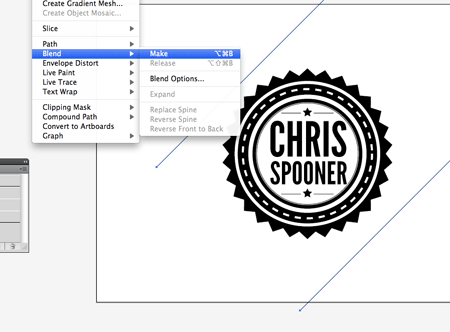
Hold Shift while dragging a line to constrain the angle to 45 degrees. Give the line a 0.5pt stroke, then duplicate it and move it diagonally across the artboard (hold Shift to keep those angles constrained). With both lines selected go to Object > Blend > Make.
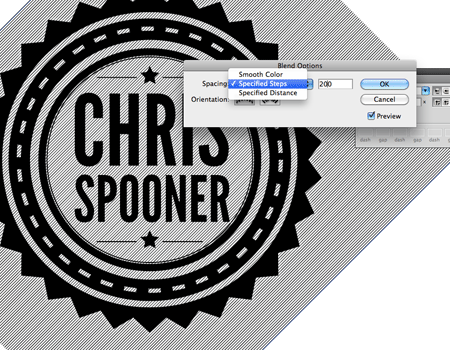
Head back into Object > Blend > Blend Options to alter the settings. Choose Specified Steps, then adjust the figure to form a closely packed series of lines.
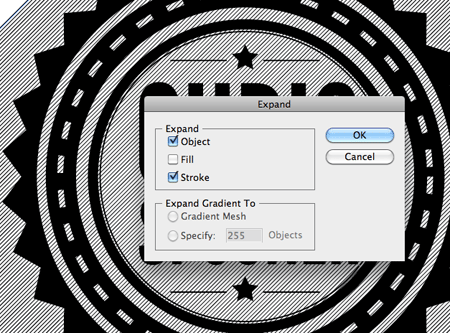
With the lines still selected, go to Object > Expand, then select the Object and Stroke options. Move the lines off to one side for the meanwhile.
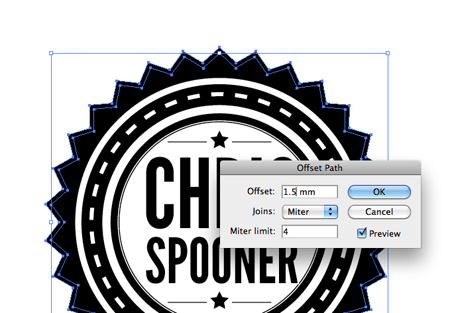
Select the main badge outline then go to Object > Path > Offset Path. Enter 1.5mm in the Offset field.
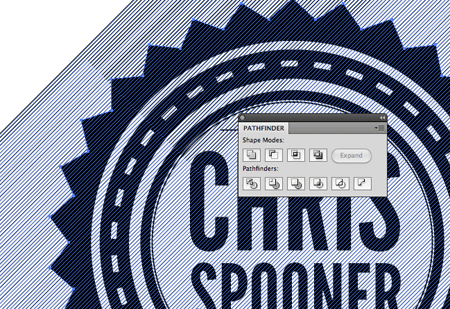
Make a copy of the lines and move them over the main badge design. Carefully select the offset path and the lines together and hit the Intersect option from the Pathfinder while holding the Alt key. Tip: To select just the two objects, drag a wide selection across multiple shapes, then reject these from the selection by holding Shift while dragging or clicking over the unwanted elements.
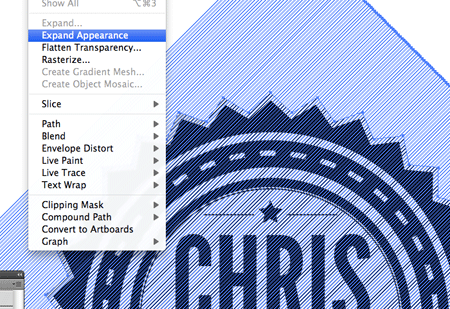
Clean up the intersection by going to Object > Expand Appearance. This will clear out the series of invisible lines around the object.
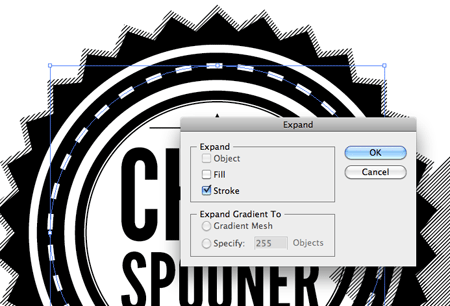
Select the dashed line in the centre of the badge and transform it into a solid shape using the Object > Expand > Stroke option.
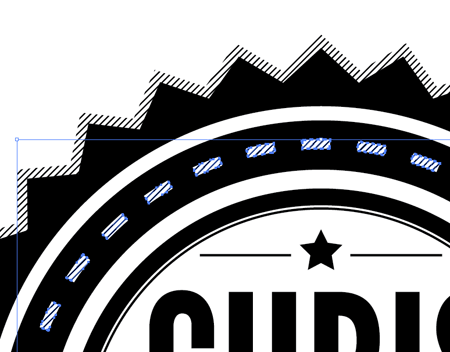
Copy (CMD+C) and paste in front (CMD+F) a duplicate of the dashed line, then move another copy of the lines over the design. Use the pathfinder once again to intersect the shapes, leaving a series of patterned lines overlaid over the original white dashed stroke.
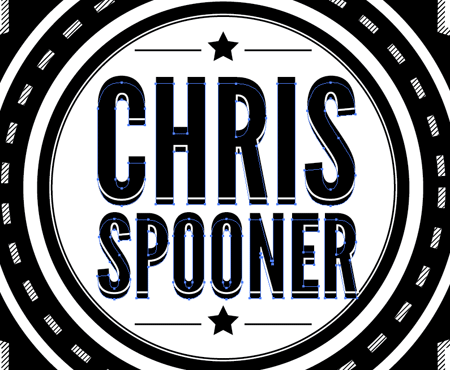
Copy (CMD+C) and paste behind (CMD+B) a duplicate of the text. Nudge this duplicated text downwards to create a basic shadow effect. Add a white stroke to the original text on top.
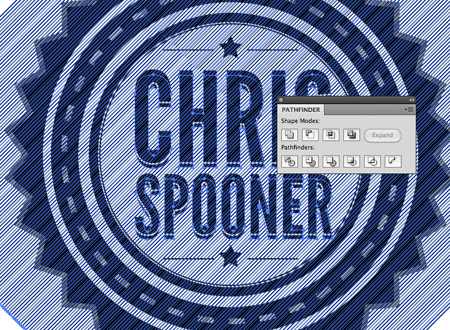
Paste in another duplicate of the pattern lines and add the lower text to the selection. Use the Intersect option from the Pathfinder to trim down the pattern to the outline of the text.

View full size design

Download the source file

vendredi 23 juillet 2010

Spoon Graphics | Latest Blog Entry

Spoon Graphics | Latest Blog Entry


This Week’s Favourites – July 23rd 2010

Posted: 22 Jul 2010 10:00 PM PDT

In this week's roundup of creative goodness, we have a fantastic photo manipulation tutorial, a terror style movie poster tutorial, a bright cosmic illustration tutorial, an overview of modern day icon design and an inspiration roundup of Tron Legacy promo art.

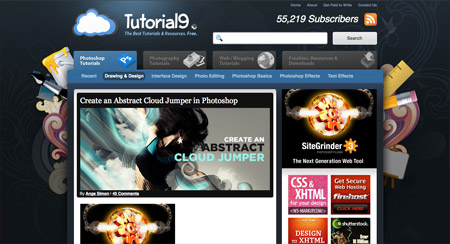
Tutorial9

Follow this tutorial from Tutorial9 to create a fantastic cloud jumper abstract photo manipulation.

View the article

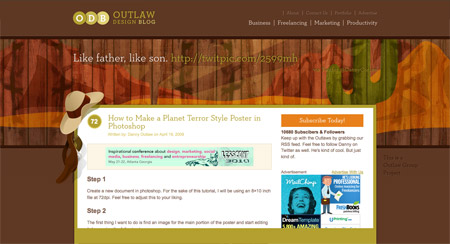
Outlaw Design Blog

Create a old style horror movie poster with this Photoshop tutorial from Outlaw Design Blog.

View the article

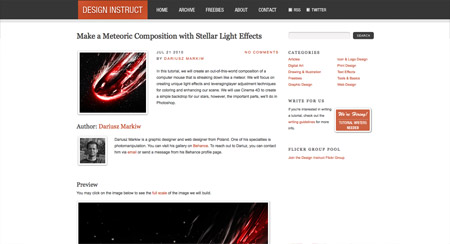
Design Instruct

This tutorial from Design Instruct covers the process of creating a bright meteoric composition complete with awesome light effects.

View the article

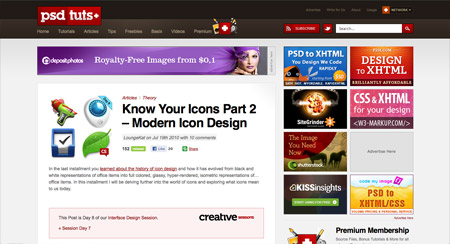
PSDTuts

This second article in a two part series from PSDTuts explains the theory and history of icon design right up to the modern day icons we all love.

View the article

Abduzeedo

Fill your mind with colourful inspiration with this roundup of Tron Legacy promo art from Abduzeedo

View the article

lundi 19 juillet 2010

Spoon Graphics | Latest Blog Entry

Spoon Graphics | Latest Blog Entry


How To Give Your Photos a Cool Retro Analog Effect

Posted: 18 Jul 2010 10:00 PM PDT

Back in the days of analog photography imperfections were part of the job. Colour washes, light leaks, vignettes and blurs were all common problems that appeared during the processing of your film, particularly from cheap cameras such as the Holga, or simply down to human error. While these problems don’t affect digital cameras, we can recreate the cool effects in Photoshop to give our shots that cool lo-fi retro effect.
View large scale photograph
View large scale photograph

Inspiration

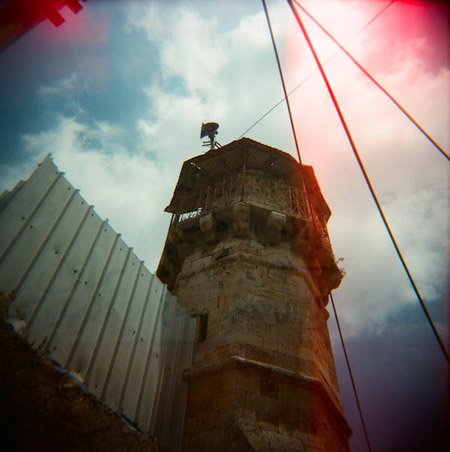
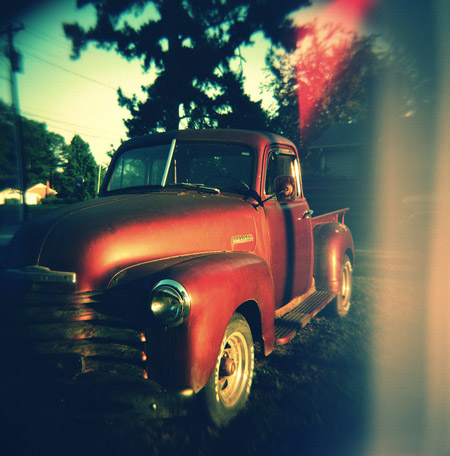
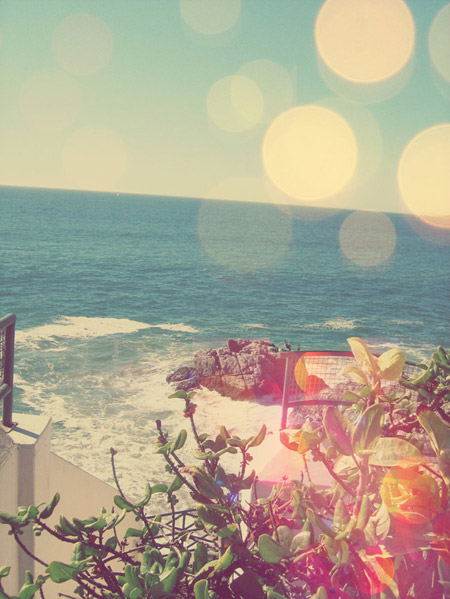
You don’t have to look far before finding quality examples of old style analog photography. Characteristics include inaccurate colour washes of warm tones, dark vignettes surrounding the shots, blurred focus and light leaks where the film has been excessively exposed.

Retro photography inspiration

Retro photography inspiration

Retro photography inspiration

Retro photography inspiration

Create your own retro analog effect

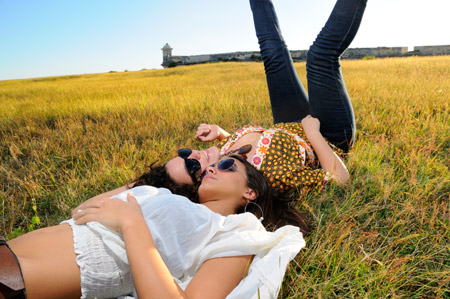
Once you have your photograph of choice, fire up Adobe Photoshop. This particular image I’ve sourced from ThinkStock.

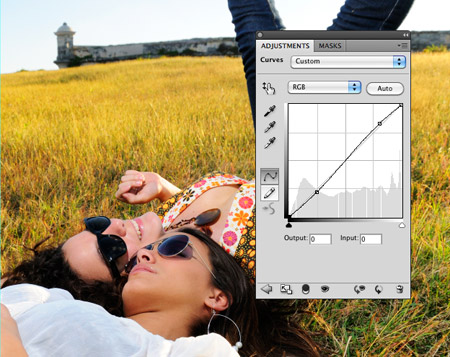
Add a Curves adjustment layer to begin altering the tones of the image. Using an adjustment layer as opposed to the menu command gives you the ability to go back and tweak the settings, or remove them altogether.

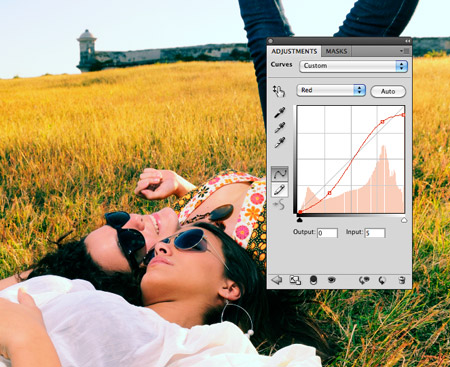
Change the drop down menu to the Red channel and begin manipulating the curves. Tweak the line into an S shaped bend.

Move onto the Green channel, this time increase the green midtones by creating a large flowing bend in the line.

In the Blue channel, add both a slight S shaped bend and move the start and end points above and below the original curves line.

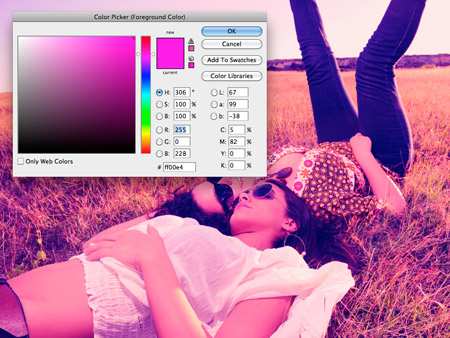
Fill a new layer with magenta, then change the blending mode to Soft Light. Reduce the opacity of the layer to around 20% to tone down the effect.

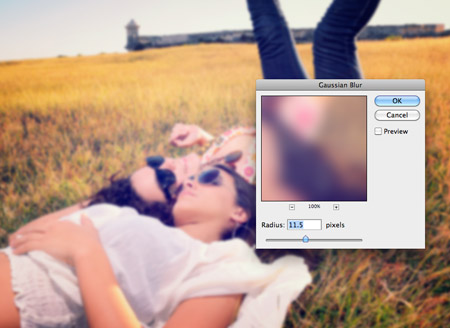
Press CMD+A to Select All, then go to Edit > Copy Merged (CMD+Shift+A). Paste this duplicate on a new layer, then add a Gaussian Blur. Add a Layer Mask to the blur layer and erase the blurring from the main subjects, leaving spots of blurring creeping in from the edges and in the background.

Dab spots of red using a large soft brush on a new layer. Change the blending mode of this layer to Linear Dodge to create a series of light leaks. Reduce the opacity to around 70%.

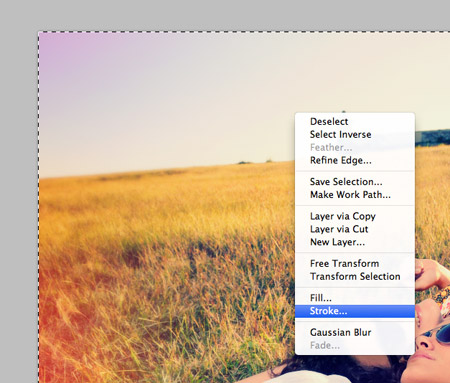
Select All, then right click the document and select Stroke. Add a 100px black stroke to the inside of the canvas.

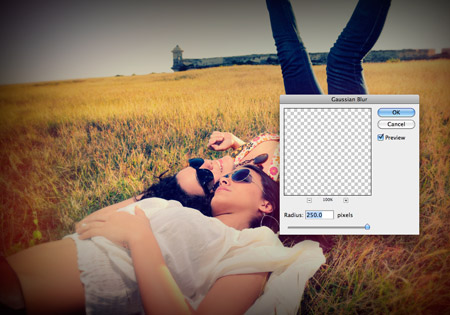
Blur the stroke with maximum settings using the Filter > Blur > Gaussian Blur option to form a vignette. Set this layer to Soft Light at 70%.

Dab a large spot of white in the centre of the canvas to highlight the main subjects. Change this to Soft Light at 100%.

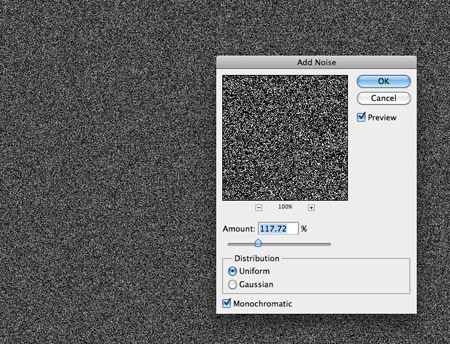
Fill a new layer with black and add some noise (Filter > Noise > Add Noise). Give the noise layer a slight Gaussian Blur to take the edge off the noise particles, then change the blending mode to Screen at 15%.

View large scale photograph

Download the source file