
Spoon Graphics | Latest Blog Entry |

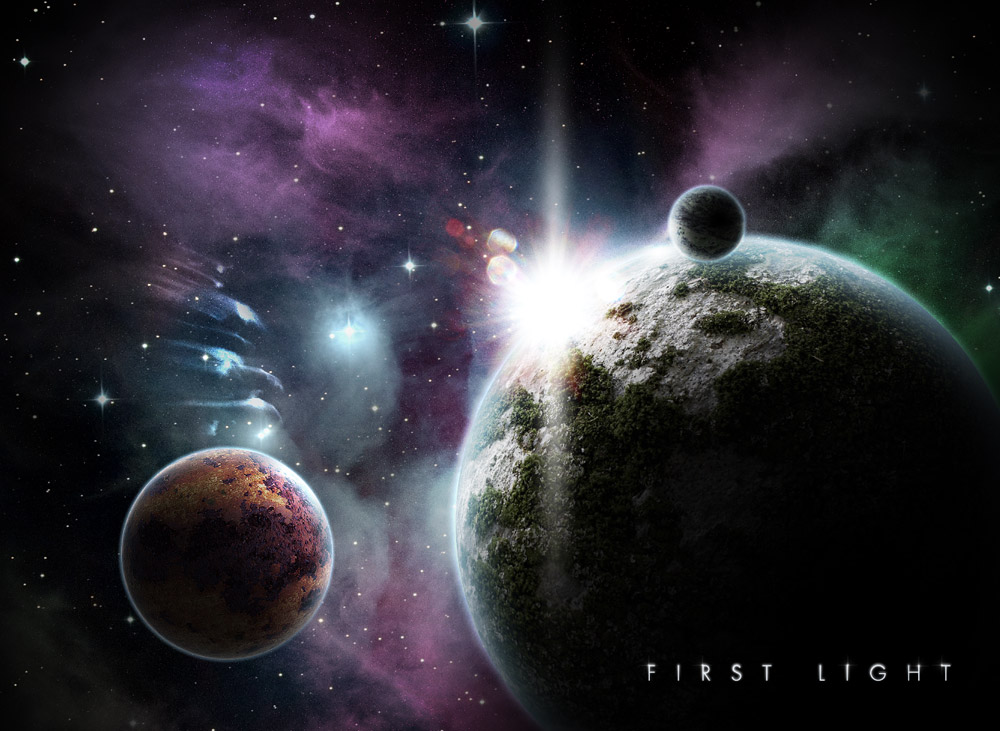
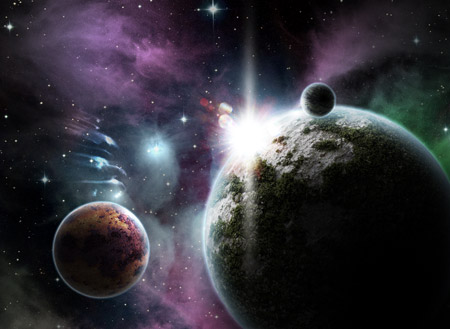
| Design a Beautiful Cosmic Space Scene in Photoshop Posted: 11 Jul 2010 11:00 PM PDT Ever since I saw the recent Star Trek movie I’ve been itching to create a gorgeous sci-fi inspired cosmic space scene. I eventually found the time to do so and created a piece of artwork named ‘First Light’. Follow this step by step walkthrough of its creation in Photoshop, from the making of the planets, to the vibrant nebula and bright lens flares.
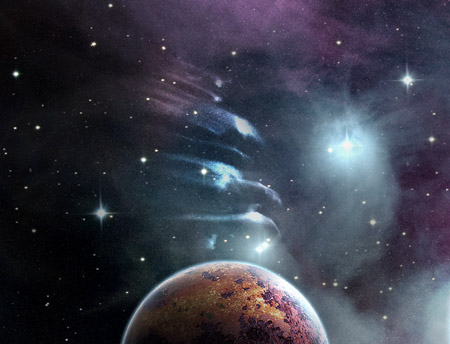
The design depicts the first light of morning in a distant solar system. The bright light from a nearby star illuminates the planet and its moons, while the surrounding nebula gives off vibrant pink, blue and green lights.
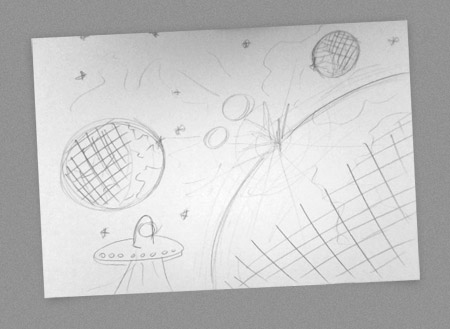
My design began as a sketch to quickly lay out a series of planets and moons to form a rough idea of the overall scene. Unfortunately the UFO never made it into the final version.
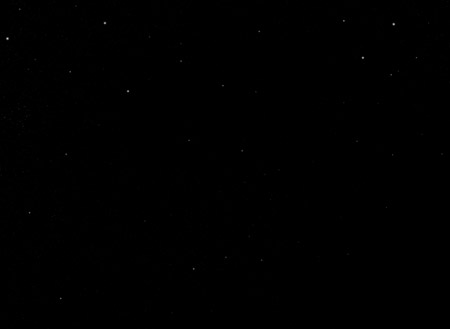
When you have your idea in place. Create a new document in Photoshop and fill it with black. Use a small soft brush to draw a few stars in the background. Change the brush size between 1 and 4 pixels.
Find a stock photo of some thin and whispy clouds using the keywords cirrus or cirrostratus. This particular shot is from ThinkStock. Desaturate the image in Photoshop, then set the black point using the Levels window to render the whole sky black. Change the blending mode to Screen at 12%.
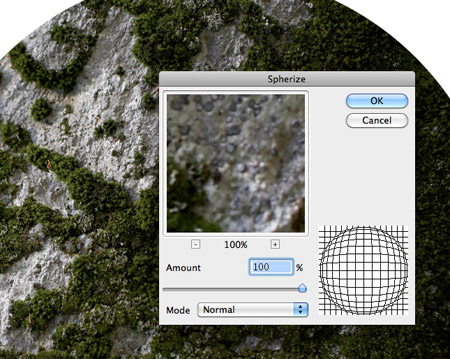
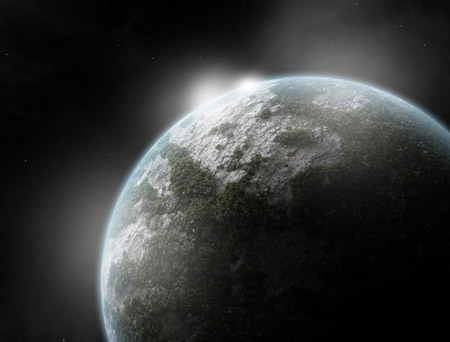
Find another stock photograph, this time you’ll need some kind of texture. A rock texture like this file from ThinkStock will make a great looking life-supporting planet with the moss representing the land mass. Draw a circular marquee over the whole area and copy into a new document.
Go to Filter > Distort > Spherize and set the Amount to 100%. The distortion of the shape creates a three dimensional appearance to give the basic form of a planet.
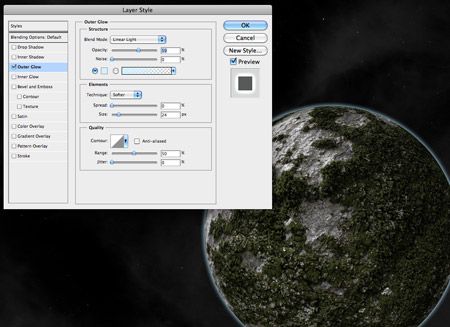
Paste the planet into the main document, then begin adding some layer styles. Start with an Outer Glow using a light blue, adjust the blending mode to Linear Light then change the glow amount and opacity to form a soft and thin atmospheric glow around the planet.
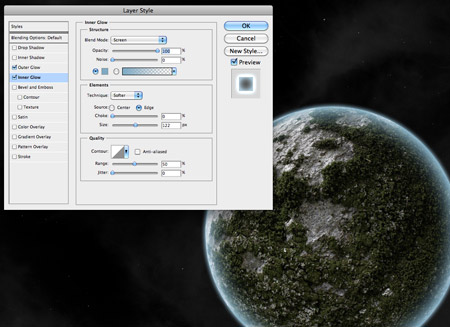
Next, add an Inner Glow. Use a slightly darker blue and give the glow a larger size so it softly spreads inwards.
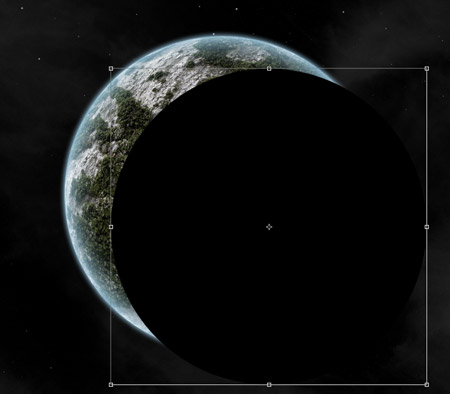
Hold CMD (CTRL for Windows) and click the thumbnail of the planet layer in the Layers window to load the selection. Fill this selection with black on a new layer, then move it to reveal a portion of the planet.
Add a large Gaussian Blur to transform the black circle into shading on one side of the planet. Scale up the shadow to alter the amount of light and shadow.
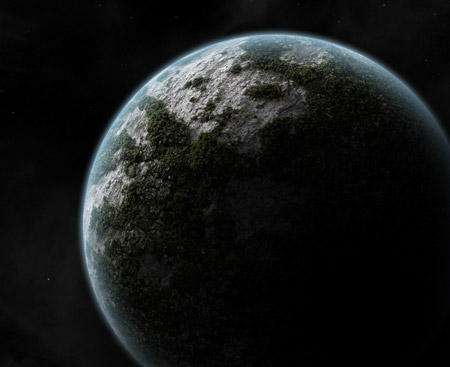
Dab a few spots of white over the lighter side of the planet using a soft brush. Change the layer’s blending mode to Overlay.
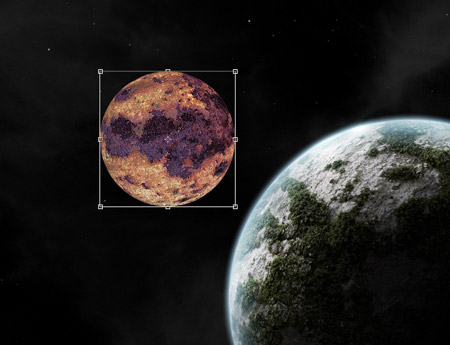
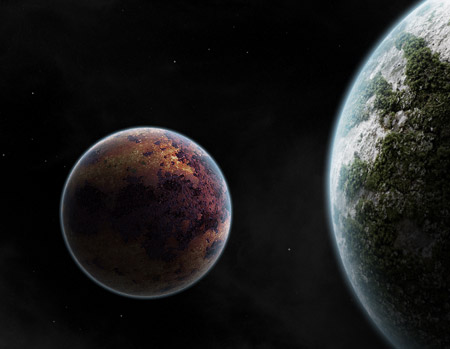
Use the same steps to form a nearby moon. Instead of a rock texture, this time search for a rust stock image.
When creating the shadows and highlights, remember to keep the position of the light source in mind and position the shading appropriately.
Load a selection of the moon from the Layers palette and erase the highlights and shadows that extend beyond the edges of the moon.
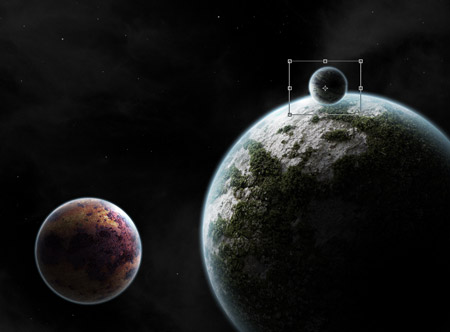
Continue adding moons and planets to lay out the scene. I’ve added another small moon orbiting the planet.
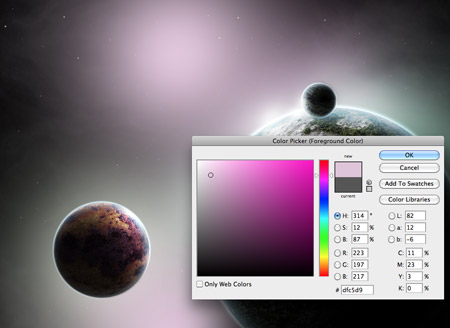
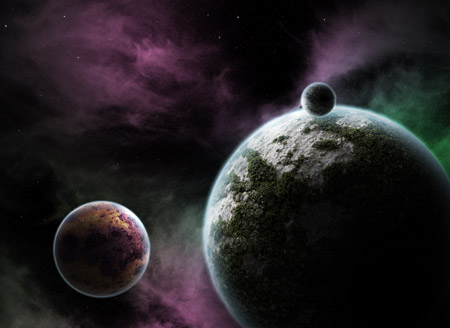
Let’s begin brightening up the scene with some awesome nebulas! Dab some pastel shades of pink and green across the document on a layer above the clouds, but below the planet and moons.
Change this layer’s blending mode to Color Dodge to allow the colours to interact with the cloud layer, creating a beautiful galactic atmosphere.
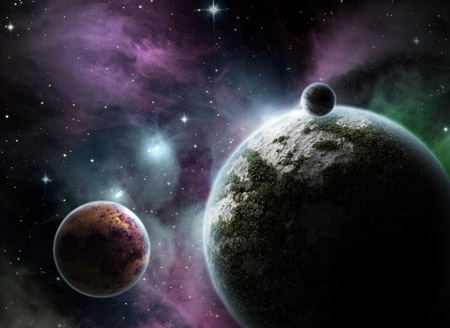
You can’t get any more realistic than a photograph, so find a stock image of a real nebula taken through a telescope. This shot from ThinkStock features cool blues and has a field of bright stars already present in the scene. Paste it into the document and change the blending mode to screen to allow this shot to also interact with out digital nebula.
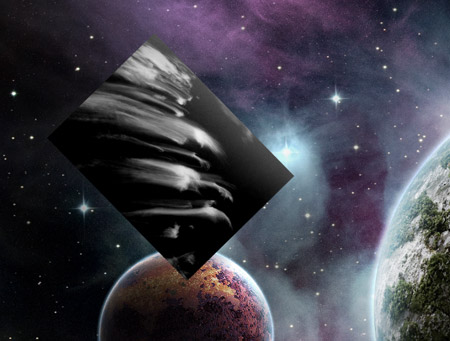
Find a stock photograph of some more cirrus clouds. Give them the same treatment by desaturating the image and darkening the levels.
Change the blending mode of the clouds layer to Color Dodge and tone down the opacity to 80%. We now have a series of meteoroids.
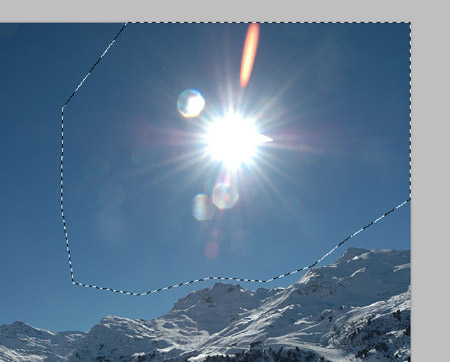
Hunt down another stock image, this time featuring a bright lens flare. Cut out the flare and paste it into the main document.
Darken the sky behind the flare to black, then change the blending mode to Screen to render the black area transparent.
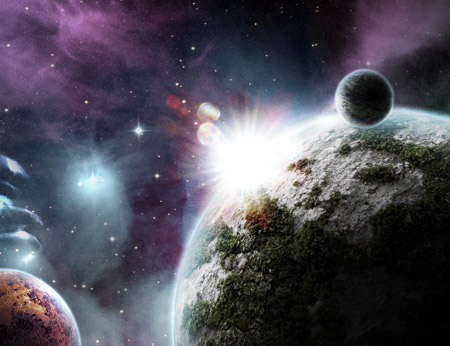
Move the flare into position so it’s just creeping over the edge of the planet. Duplicate the layer to double the intensity of the light source.
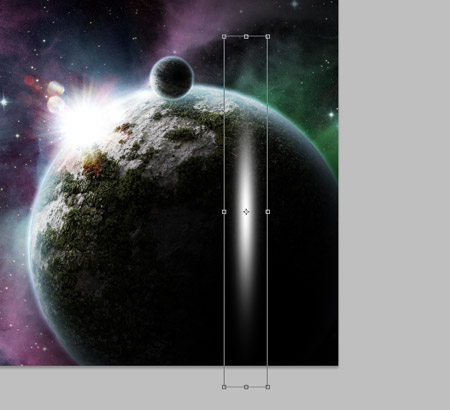
Dab one spot of white using a soft brush. Press CMD+T and stretch the shape vertically.
Position this long brush stroke over the light source to generate yet another subtle lens flare. Adjust the opacity to around 80%.
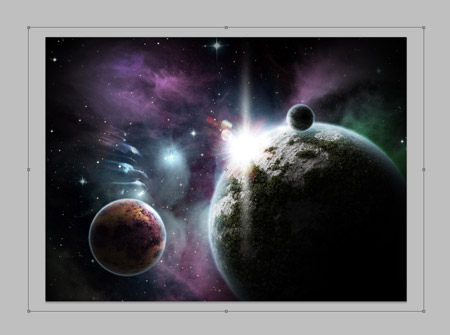
Add a new black layer over the whole design, then erase out the centre. Scale up the layer slightly to form a vignette. Change the blending mode to Overlay.
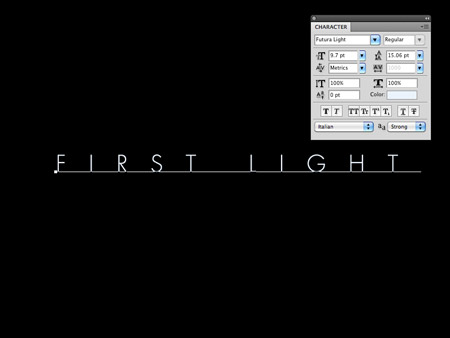
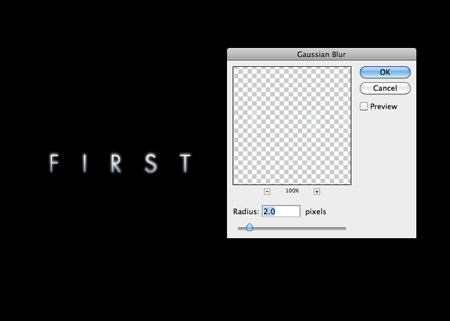
Finish off the design with a cool typographic title. Lay out the title of the piece in a cool font such as Futura Light with a super large 1000% tracking.
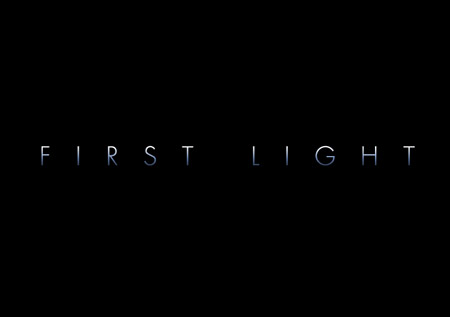
Add a Gradient Overlay using the layer styles palette, ranging from white to blue to black running vertically over the text.
Duplicate the layer and remove the layer styles, leaving just a plain white fill. Add a 2px Gaussian blur after rasterizing the text. Then add a layer mask and erase out the lower portion of the white text.
Add the text to the lower corner of the design to finish off our beautiful vibrant cosmic scene. |


| You are subscribed to email updates from Blog.SpoonGraphics To stop receiving these emails, you may unsubscribe now. | Email delivery powered by Google |
| Google Inc., 20 West Kinzie, Chicago IL USA 60610 | |
Aucun commentaire:
Enregistrer un commentaire