Blog.SpoonGraphics | Latest Blog Entry |
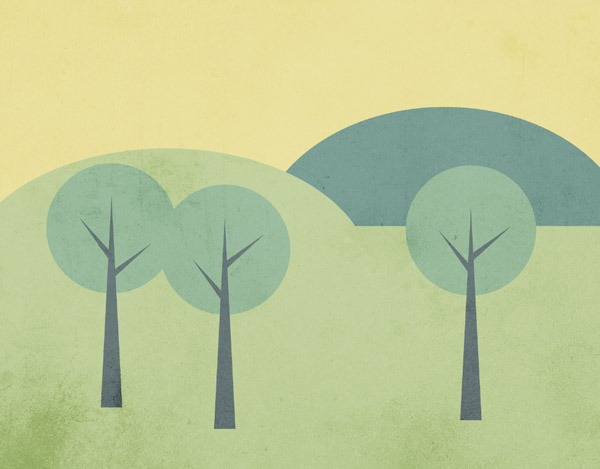
| How To Create a Simple Landscape Scene in Illustrator Posted: 11 Mar 2013 12:00 AM PDT Today’s Illustrator tutorial is perfect for beginners. You don’t need to be a master illustrator to create cool artwork, just using simple shapes and limiting yourself with a small colour palette can result in some great designs and artworks. In this tutorial we’ll use Illustrator’s basic shapes and tools to create a stylized landscape scene illustration then finish it off in Photoshop with the addition of some texturing. The artwork we’ll be creating features a simple landscape made up of basic shapes and a limited colour palette of greens and yellows. Vector artwork does tend to look a little flat and lifeless, so for the final step we’ll switch over to Photoshop to quickly distress the design with some dirty textures. This gives the final artwork more of a tactile appearance with subtle changes in tone. View the final landscape scene illustration
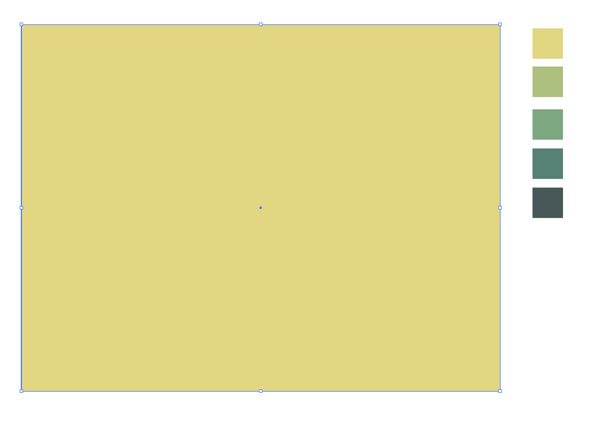
Open up Adobe Illustrator and create a new document. The document dimensions don’t matter too much, just go to View > Hide Artboards to remove the document boundary. We’ll need a cool colour scheme for our illustration, I picked out a ready-made series of colours from ColourLovers named Enchanted Woods. Paste a screenshot of the palette into Illustrator then create a series of little squares each with a fill using the Eyedropper tool. Use the lightest colour from the palette to create a large rectangle as the background to the illustration.
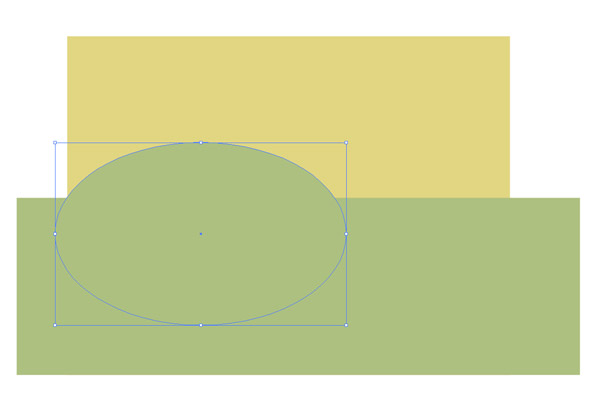
Select one of the mid green colours then draw a rectangle and an oval to represent the foreground and a hill. With both of these shapes being the same colour they will appear to blend together but vector shapes can always be individually selected and moved around.
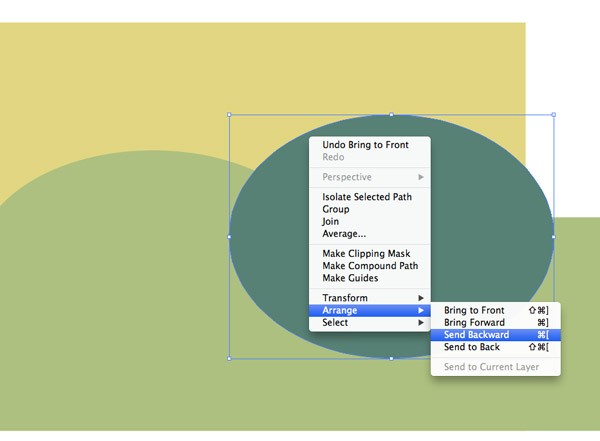
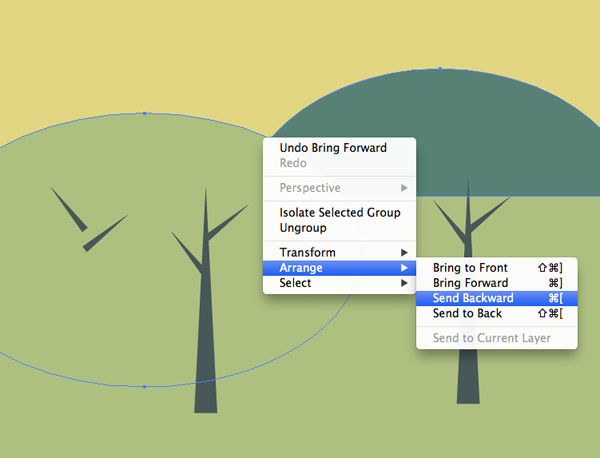
Choose a darker green colour then draw another oval shape to represent another hill. Repeatedly press the shortcut CMD+[ or select the Send Backward command from the right click menu until the shape sits behind the lighter green objects but above the yellow background rectangle.
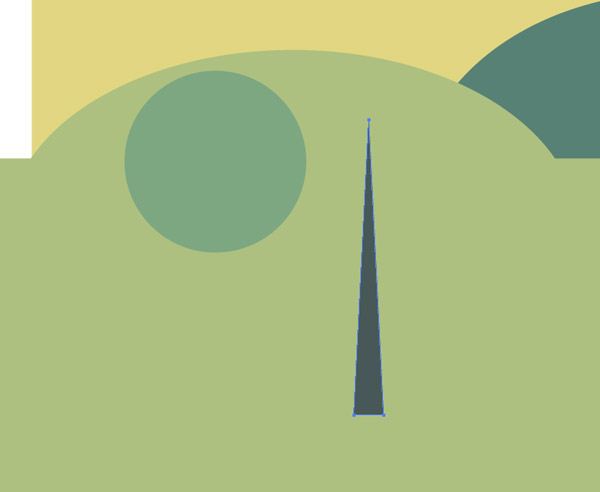
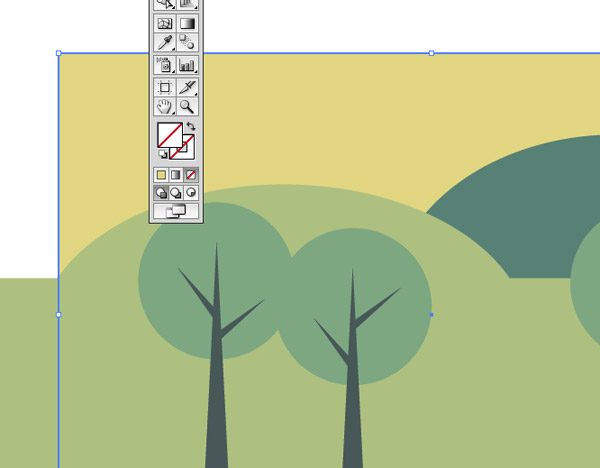
Hold shift while drawing with the Ellipse tool to constrain the dimensions into a perfect circle. Elsewhere on the artboard use the Pen tool to draw a triangle with four simple clicks. To adjust its shape use the Direct Selection tool to select and move any of the three points. Use the Eyedropper tool to give this shape a dark green fill from one of the predetermined swatch squares.
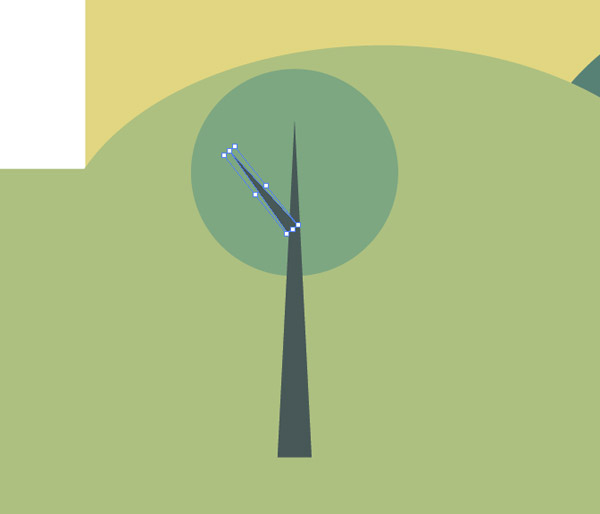
Move the triangle shape into position over the green circle to represent the trunk of a tree, then copy and paste a duplicate of the triangle and scale & rotate it to form a smaller tree branch. Overlap the two shapes so they seem to blend seamlessly.
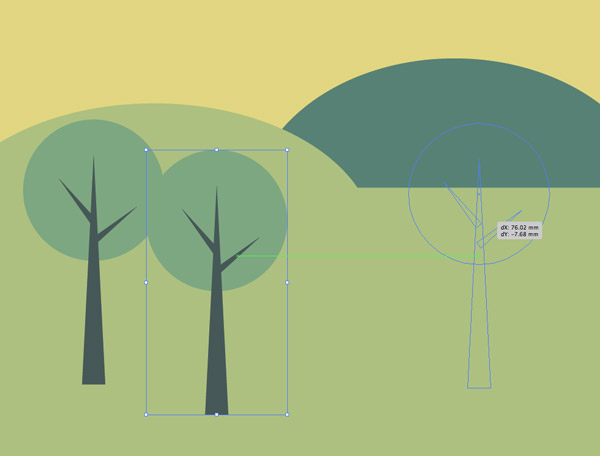
Hold Shift while selecting all the individual shapes that make up a complete tree, then hold Alt while dragging them to one side to create duplicates.
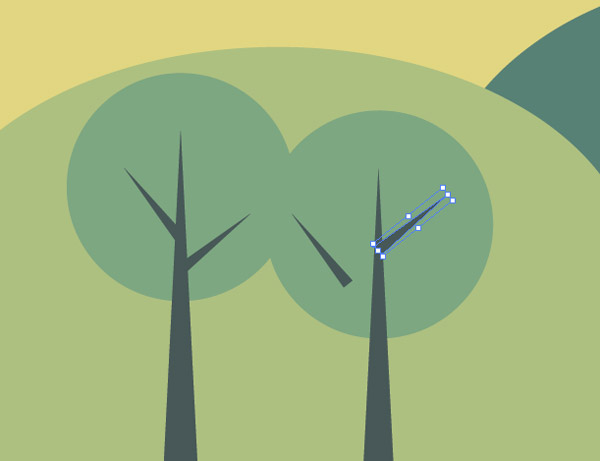
Go back and adjust the orientation of the tree branches to give each tree a unique appearance.
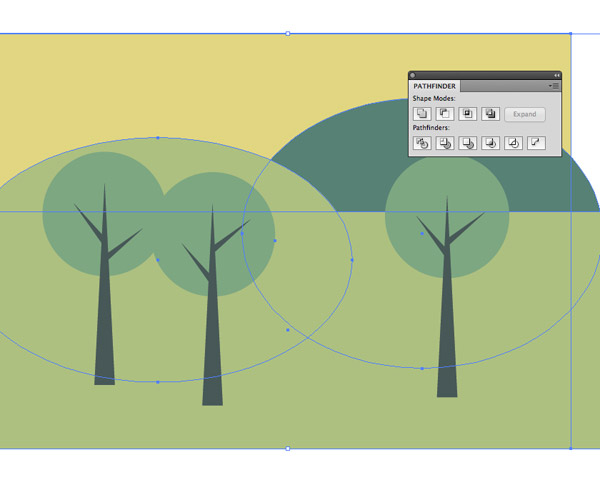
Select the yellow background rectangle and press CMD+C to Copy then CMD+F to Paste in Front. Clear out the fill colour in the toolbar.
Hold Shift and add the green foreground rectangle and the two hills to the selection. Press the Crop button from the Pathfinder palette to trim these shapes to size.
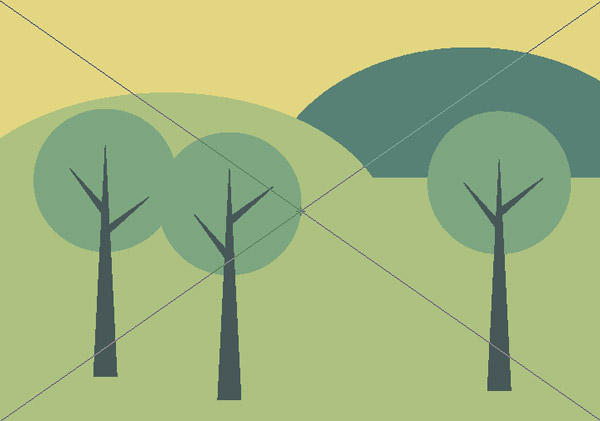
The cropping process will mess up the layering of the elements, so use the CMD+[ shortcut to send the elements down the stack until the foreground elements are visible again.
The Illustrator portion of this tutorial is now complete. We’ve used Illustrator’s basic tools to create a cute little vector landscape illustration but we can inject a little life by copying & pasting the whole design into Photoshop.
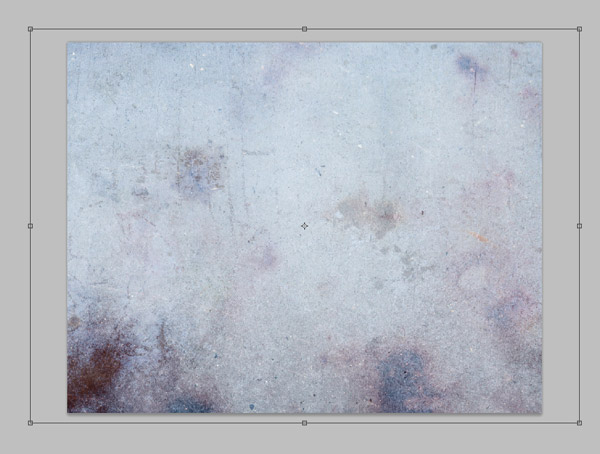
Open up a subtle grunge texture from LostandTaken and paste it over the artwork in Photoshop.
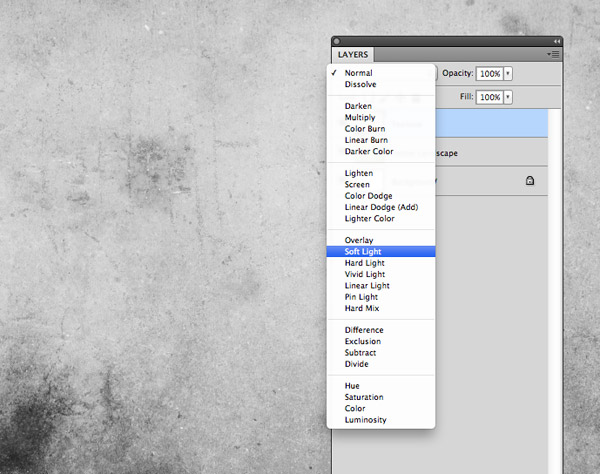
Use the shortcut CMD+Shift+U to quickly desaturate the image then change the layer blending mode to Soft Light. This will allow the texture to interact with the colours of the illustration.
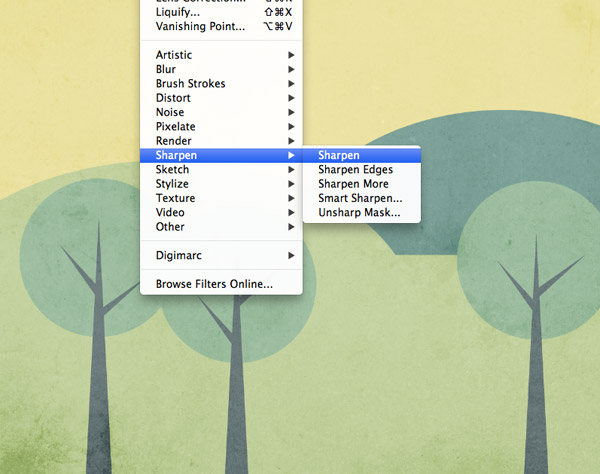
Go to Filter > Sharpen > Sharpen to bring out the detail of the texture. Press CMD+F to repeat the filter one or two times to achieve a series of really crisp distressing marks to match the sharp linework of the vector illustration.
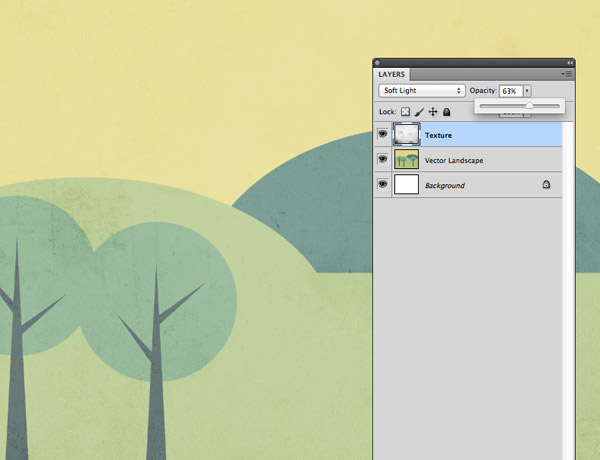
If the texture appears too harsh, reduce the opacity of the layer slightly to tone down the effect. This leaves our simple landscape scene complete. Using simple shapes in Illustrator can result in some cool stylized artwork, plus the addition of textures in Photoshop really complements the artwork and gives the design an aged retro feel, especially when a limited muted colour scheme is used. |
| You are subscribed to email updates from Blog.SpoonGraphics To stop receiving these emails, you may unsubscribe now. | Email delivery powered by Google |
| Google Inc., 20 West Kinzie, Chicago IL USA 60610 | |


Aucun commentaire:
Enregistrer un commentaire